

One of the smartest ways to extend your gardening season and reduce costs is to save seeds from your strongest tomato plants. If you grow heirloom or open-pollinated tomato varieties, you can harvest viable seeds that will produce healthy plants year after year, all without spending a dime. This process not only saves you money but also creates plants perfectly adapted to your specific growing conditions. Here’s how to master this rewarding gardening practice.
Choose the Right Tomato Plant to Start
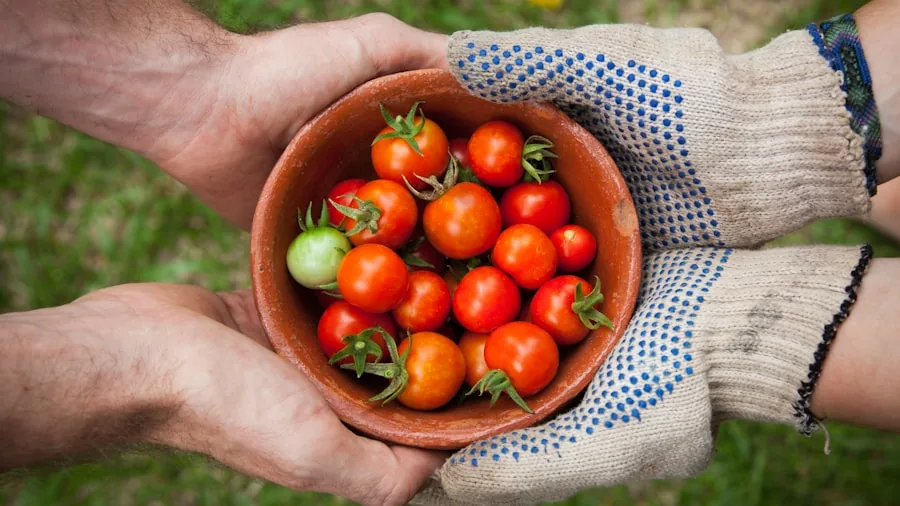
Begin by selecting your most productive tomato plant, then pick the best, fully mature fruit you can find. Look for a tomato that’s slightly overripe, as this stage maximizes seed viability. One medium-sized tomato contains over a hundred seeds, so you won’t sacrifice much of your harvest. Keep in mind that you can only save seeds from heirloom or open-pollinated varieties. Store-bought tomatoes are typically F1 hybrids, and seeds from these plants won’t produce identical offspring. Common heirloom varieties like Brandywine, San Marzano, Black Cherry, and Green Zebra all make excellent candidates for seed saving.
Extract Seeds and Begin Fermentation
Slice your chosen tomato in half and scoop the seeds along with their gel-like pulp into a clean glass jar. If you’re working with smaller tomatoes, simply squeeze the seeds directly into the jar. When saving multiple varieties, label each jar clearly to keep track of what you have.
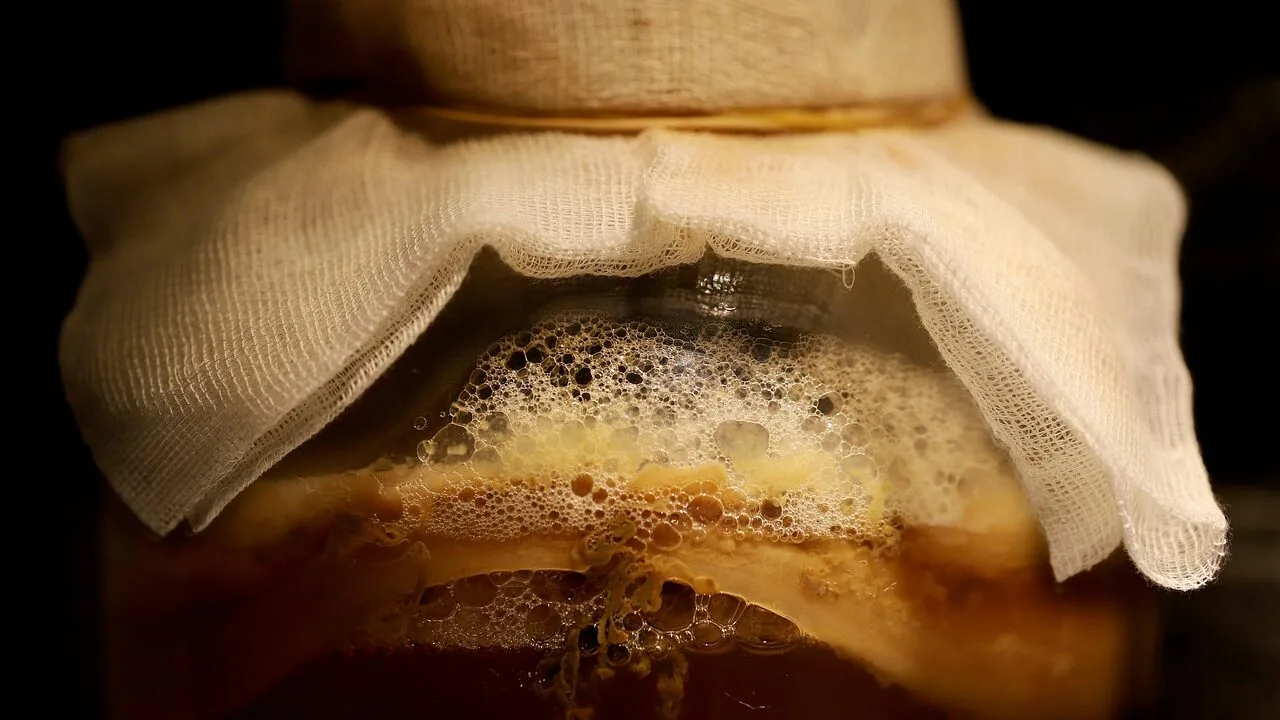
Pour water into the jar using roughly a 1:1 ratio of seeds to water. Cover the jar opening with a paper towel and secure it with a rubber band. This allows airflow while keeping out flies and debris. Place the jar somewhere warm and visible, like a kitchen countertop, where you’ll remember to give it a gentle daily swirl. The fermentation process typically takes 4-5 days.
Understand the Separation Process
During fermentation, the gel coating breaks down and seeds naturally separate from the pulp. After several days, you’ll notice the pulp and scum floating to the top while viable seeds sink to the bottom. A layer of mold may form on the surface, but this is completely normal and nothing to worry about.
Once this separation is visible, begin the rinsing process. Slowly pour off the floating pulp, scum, and mold layer while keeping the heavy seeds in the jar. Add fresh water, let seeds settle again, and repeat this process two or three times until the seeds are clean. For a final rinse, tip the seeds into a fine-mesh sieve and hold under running cold water, gently rubbing them with a wooden spoon to remove any remaining gel.
Dry Your Seeds Properly
Spread the cleaned seeds onto paper towels and pat them dry, then transfer them to a non-stick surface such as a glass chopping board or glazed plate. Leave them to dry for approximately two weeks in a warm location with good airflow but away from direct sunlight. After a couple of days, gently separate any clumps that may have formed. Properly dried seeds are essential for successful storage and germination next spring.
Store Seeds in Ideal Conditions

Once seeds are completely dry, place them in a paper envelope and store in a dark, cool, dry location. A tin in a frost-free garage works perfectly. Adding silica gel packets to your storage container will absorb moisture and prevent mold development. For gardeners managing multiple plant varieties, a compartmentalized seed storage box makes organization easy and maintains up to 98 percent seed viability over time.
Develop Your Own Heirloom Tomato Variety
Over multiple seasons of saving and replanting seeds, you can select for desirable traits like exceptional flavor, prolific fruit production, or compact growth. This gradual process allows you to develop a tomato variety perfectly suited to your garden’s unique conditions. As you work with perennial growing seasons, you’ll notice how each year’s selection strengthens your plants, ultimately creating your very own heirloom tomato.
Saved tomato seeds remain viable for five years, giving you plenty of time to use your harvest. Many gardeners end up with more seeds than they can use, making them wonderful gifts. Pair your seed gifts with starter supplies and growing instructions for a thoughtful present that friends and family will appreciate for years to come.





Write Your Review
No reviews yet. Be the first to share your experience!