
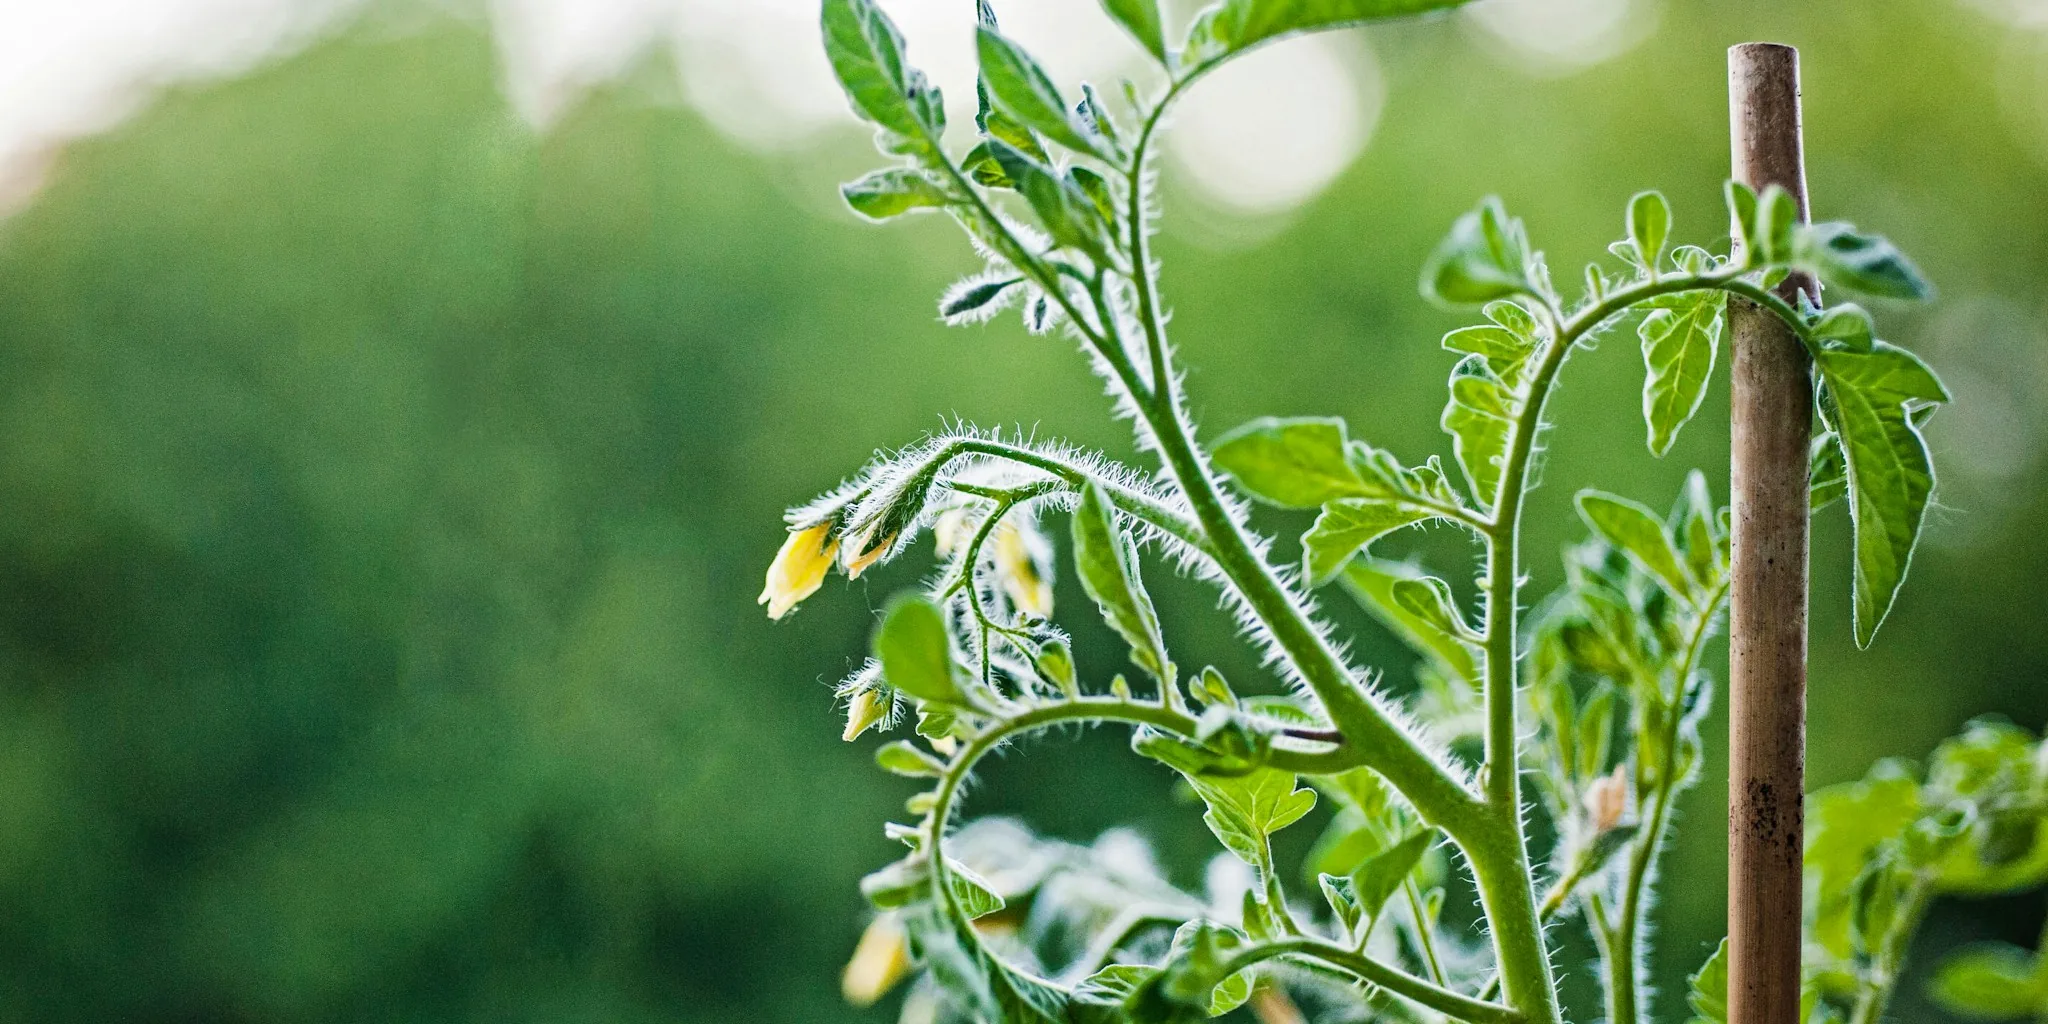

As October arrives, many vegetable gardeners face a familiar scene: tomato plants that have lost their vigor, with yellowing foliage, lingering unripe fruit, and stems drooping under the weight of their support cages. The instinct is simple, yank everything out and toss it. But rushing into cleanup without a plan means missing valuable opportunities to improve next year’s harvest and avoid spreading disease through your garden beds.
Smart end-of-season tomato management starts with inspection before removal. The key distinction is understanding which plants can safely feed your compost pile and which ones need to be bagged and removed from the property entirely. This single decision shapes every other task you’ll face in the coming weeks.
Inspect Plants for Disease First
Walk through your tomato row slowly and examine the foliage, stems, and any remaining fruit before pulling a single plant. Certain pathogens should never enter a typical backyard compost pile because home piles rarely reach temperatures high enough to kill them. Late blight, bacterial spot, and bacterial canker can all survive in plant debris and return to haunt your garden next season. Mosaic viruses are even more persistent, surviving in dried plant material for years. If you spot signs of these diseases, bag the affected plants and dispose of them according to your local guidelines. The same rule applies to plants heavily infested with pest problems.
Save Seeds from Your Best Performers
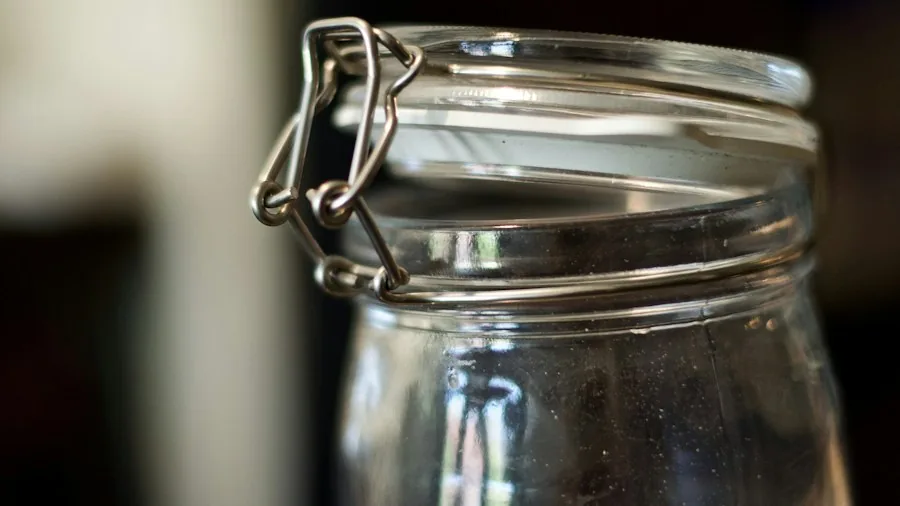
If you grew open-pollinated or heirloom tomato varieties, you can harvest free seeds for next year. This strategy does not work with hybrid varieties, which won’t produce true-to-type offspring. Select fully ripe fruit from your healthiest and best-tasting plants. Scoop the seeds and surrounding gel into a glass jar with a small amount of water. Stir the mixture twice daily for about five days until it ferments and good seeds sink to the bottom. Rinse the viable seeds through a fine mesh strainer, then dry them completely on a coffee filter or paper plate. Once they’re hard enough that a fingernail won’t dent them, transfer them to labeled envelopes. Stored in cool, dry, dark conditions, tomato seeds remain viable for approximately four years.
Root Cuttings Indoors Before Frost
If you discovered a tomato variety you especially enjoyed, you can overwinter it indoors and start fresh plants next spring. Before a hard frost hits, select several healthy side shoots about three to four inches long and cut them cleanly with sanitized pruners. Place the cut ends in a jar of plain water, keeping them submerged an inch or two beneath the surface. Keep the jar in a cool, bright location and watch for roots to develop. Once roots appear, pot the cuttings and give them maximum light indoors. Be sure to skip this step for any plant that showed signs of disease, since cuttings can transmit viruses from the parent plant. You might also consider propagating garden plants for free this October using other methods suited to your climate.
Compost Healthy Material Properly
Healthy tomato vines are valuable organic matter, but throwing them whole onto your pile means they’ll decompose slowly. Chop them into shorter sections, roughly eight to twelve inches, since smaller pieces break down much faster. Strip off any leftover tomatoes before composting, as seeds can survive the decomposition process and sprout as unwanted volunteers next summer. Layer the chopped vines with dry leaves or other brown materials to speed decomposition. If you’re uncertain whether a plant was fully healthy, use that resulting compost away from areas where you plan to grow tomatoes again.
Address Roots and Soil Health
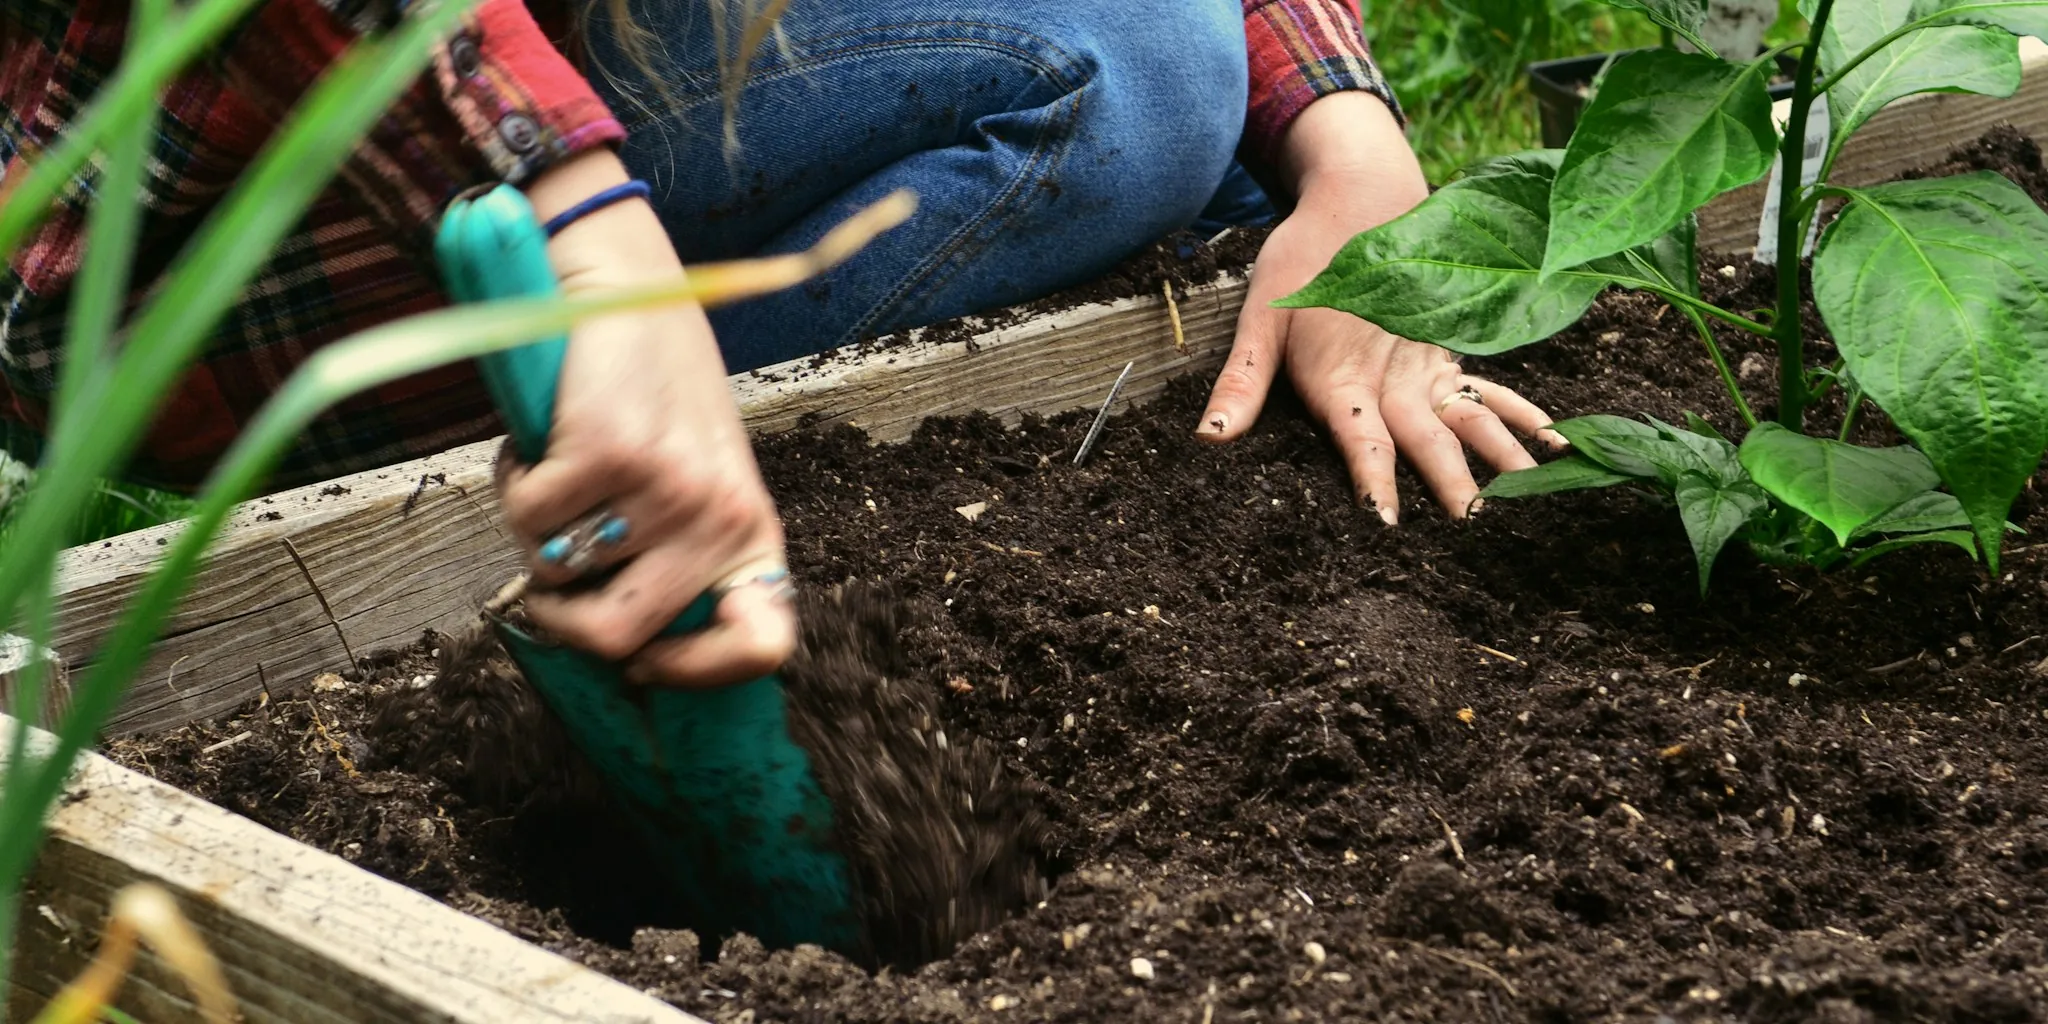
Healthy plants that performed well all season are good candidates for leaving roots in place. Simply cut the stems off at ground level, and the roots will decompose naturally, adding organic matter without disturbing the soil structure. However, if a plant wilted, stunted, or yellowed mysteriously, dig up the root ball and inspect it closely for knotty swellings that indicate root-knot nematodes. These pests cause long-term soil problems, so remove and discard infested roots immediately. The same inspection applies to plants showing signs of Fusarium wilt, which can persist in soil for many years.
Clean and Disinfect Support Structures
Tomato cages, stakes, and trellises can harbor disease organisms between seasons. Bacterial canker persists on supports, and mosaic viruses can survive on stakes for weeks or months. First, knock off loose soil, then scrub them thoroughly with water. Once dry, soak all metal and plastic supports in a 10 percent bleach solution (one part bleach to nine parts water) for at least twenty minutes. Wooden stakes are riskier since bacteria hide inside the wood itself, so discard any that held diseased plants. Before storing everything for winter, rinse bleach-treated items thoroughly.
Prepare the Bed for Next Year
Bare soil over winter is a missed opportunity. Sow winter rye in mid-October if conditions still allow at least four weeks before steady cold arrives. This cold-hardy cover crop will grow through winter and can be mowed down in spring, then worked into the soil several weeks before planting. If cover cropping is too late, spread compost or shredded leaves instead. Most importantly, plan to move tomatoes, peppers, eggplant, and potatoes to a completely different garden spot for the next three to four years. You can also protect container plants before frost hits if you’re using pots. For containers, replace at least the top six inches of potting mix with fresh material.





Write Your Review
No reviews yet. Be the first to share your experience!