
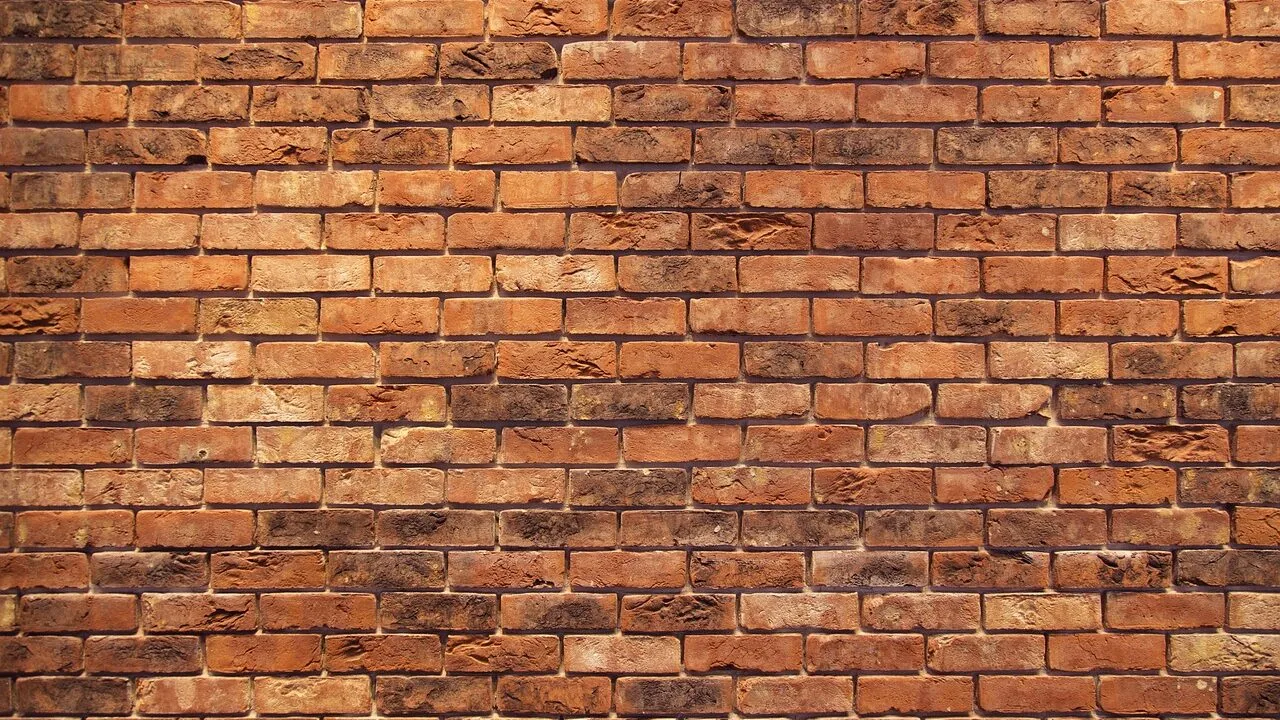

Installing an outdoor TV has become increasingly common as homeowners create entertainment spaces in their yards and patios. If you’re planning to mount a TV on a brick or concrete wall, you’re actually in a great position. Unlike wood-framed walls where you need to locate studs to anchor fasteners securely, masonry surfaces like brick and concrete offer structural support almost anywhere you choose to mount. This makes the installation process simpler and more flexible than you might expect.
Step 1: Choose the Right Location
Before you drill a single hole, selecting the perfect mounting spot is critical. Start by visualizing where you’ll sit while watching and ensure you have a clear line of sight to the screen. Pay attention to how sunlight will hit the wall throughout the day, as glare and backlighting can significantly impact your viewing experience.
Your outdoor TV’s weather resistance should influence your location choice as well. Some outdoor televisions feature full waterproof protection and can handle direct rain exposure, while others are only splash-resistant and should be installed under a covered area like a patio, deck, or porch. Check your TV’s specifications to understand its limitations. Additionally, verify that your chosen mount is rated for your TV’s size and weight to ensure safe installation.
Step 2: Mark Your Drilling Points Carefully
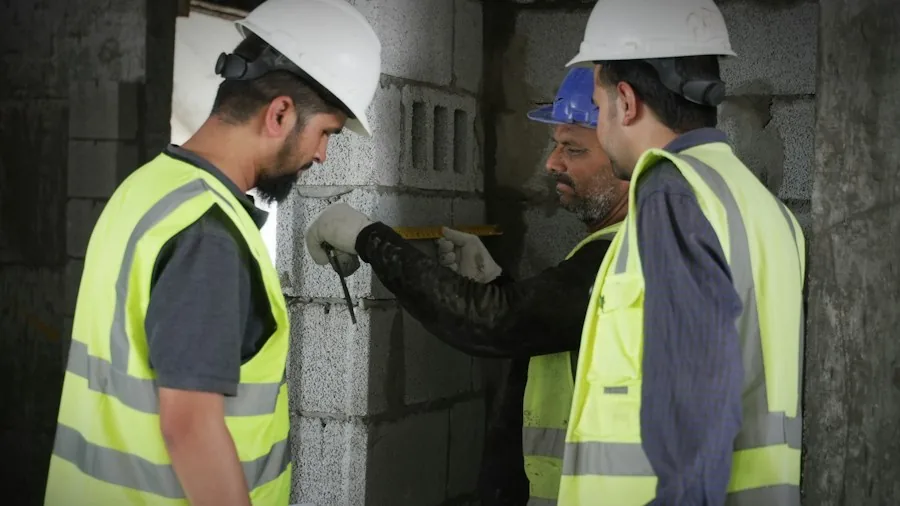
Use the template that comes with your TV mount to identify exactly where holes need to go. Position the template on your wall and use a level to ensure it’s perfectly aligned before marking anything. This step is crucial for a professional result.
When marking, always aim for the center of bricks, stone, or concrete blocks rather than the mortar lines. Mortar is significantly weaker than the surrounding masonry materials and can crack when anchors expand during tightening. Use a permanent marker that will show clearly on your wall surface. Taking time here prevents mistakes that would require filling holes and starting over.
Step 3: Drill Holes with Proper Equipment
The right tool makes all the difference. A rotary hammer drill will work much faster than a standard drill with a hammer function, creating cleaner and more accurate holes. Before drilling, confirm the correct bit size for your anchors, typically 1/2 inch for most outdoor TV installations.
As you drill, maintain the drill bit perfectly level and perpendicular to the wall. This ensures that your anchors will sit straight and your mount will be properly aligned. Drill all your holes in sequence, checking your positioning frequently to maintain consistency.
Step 4: Install Quality Masonry Anchors
Many TV mounts include basic hardware, but upgrading to proper masonry anchors significantly improves safety and reliability. Look for 5/16 by 2 inch masonry anchors rated for substantial weight capacity, ideally over 200 pounds per anchor. For a typical TV installation, you’ll need four anchors, providing more than enough support even for larger models like best 85 inch TVs.
Using a hammer, gently tap each anchor into its hole until it sits flush with the wall surface. Avoid striking too hard, as this could damage the anchor or crack the masonry. The anchors will expand slightly as you tighten the lag bolts, creating a secure mechanical lock within the wall.
Step 5: Secure the Mount and Hang Your TV
Line up the TV mount’s holes with your installed anchors and thread the lag bolts by hand first. Once all bolts are started, use a wrench to tighten them down gradually. Tighten each bolt until it’s snug, then give each one an additional quarter to half turn for final security. Don’t over tighten, as this can strip anchors or damage your mount.
After the mount is secured, install the manufacturer-specific brackets on your TV’s back panel. Most TV models include clear instructions for this process. Then carefully hang your TV on the mount using the provided hardware, following all manufacturer guidelines for proper attachment.
What You’ll Need
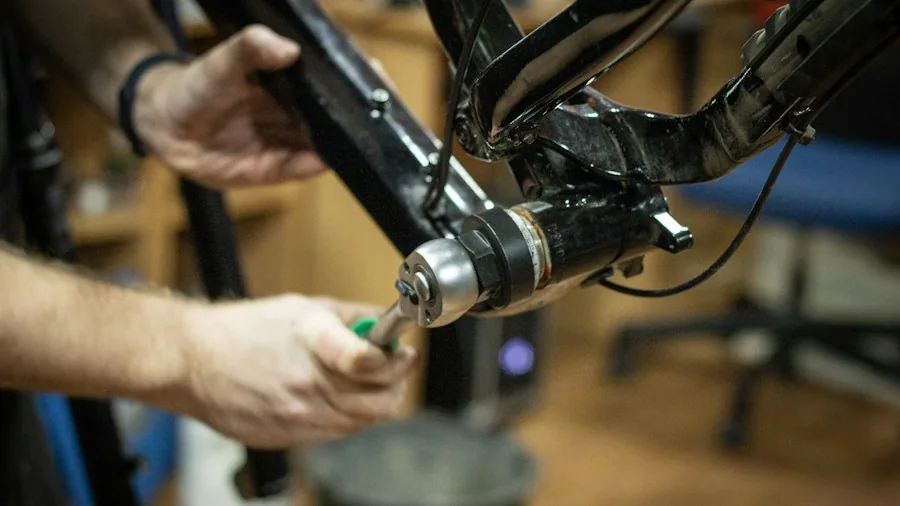
- Rotary hammer drill with appropriate bit size
- Level to ensure proper alignment
- Hammer for installing anchors
- Wrenches sized for your lag bolts
- Quality masonry anchors rated for heavy loads
- Permanent marker for marking drill points
- Outdoor TV mount rated for your TV size and weight
Project Timeline and Cost
This entire project typically takes about one hour to complete. Drilling and installing the mount takes less than 30 minutes, while attaching your TV to the mount takes another 30 minutes or less. Total material costs usually range from $75 to $200 depending on your TV size and mount quality. The investment in proper equipment and materials pays dividends in safety and longevity. When combined with quality outdoor equipment like TV antennas for outdoor reception, you’ll have a complete entertainment setup that performs reliably for years.
By following these steps and using quality materials, you’ll create a secure outdoor TV installation that transforms your outdoor space into an entertainment destination while keeping your investment safe and secure.






Write Your Review
No reviews yet. Be the first to share your experience!