
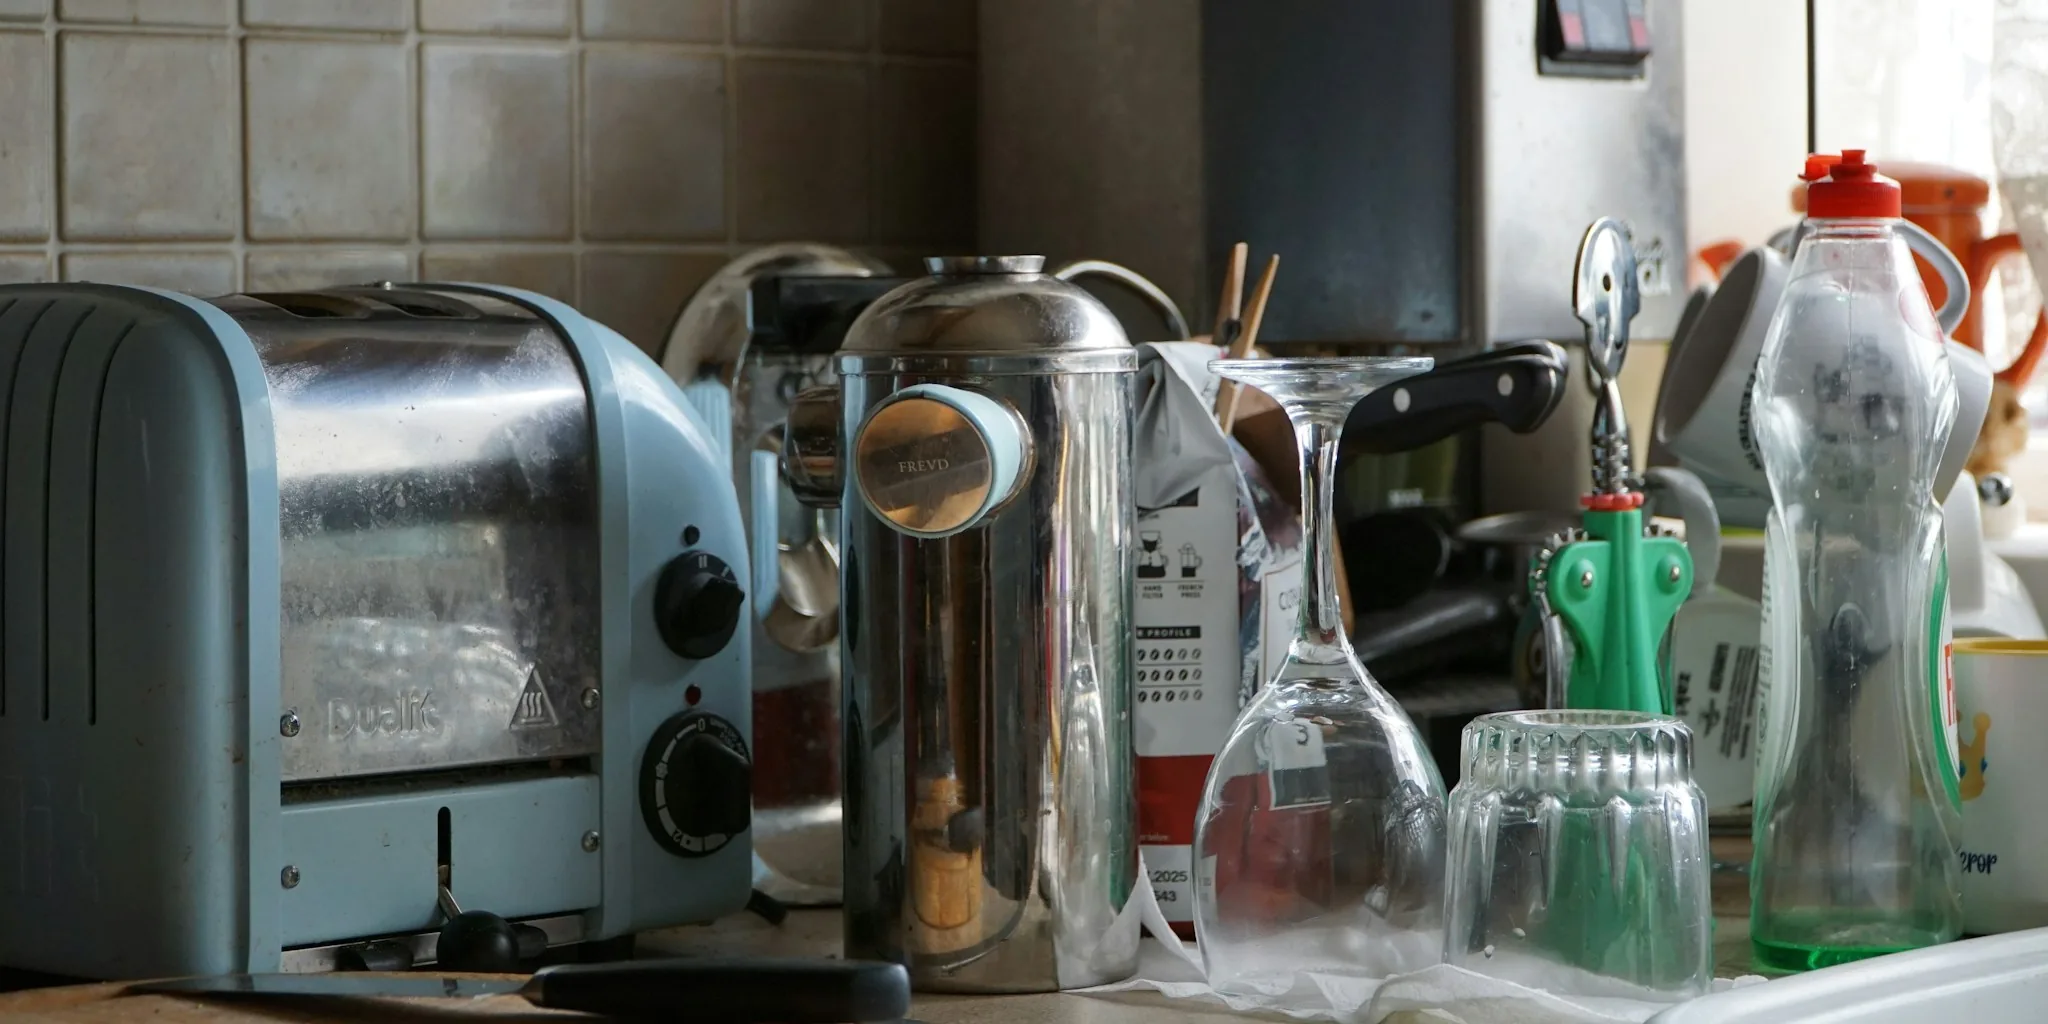

Your toaster is likely one of the hardest working appliances in your kitchen, yet it rarely gets the attention it deserves when you’re cleaning house. Before long, burnt crumbs pile up inside, grease smudges cover the exterior, and your once-sleek countertop appliance starts to look dingy. The good news is that keeping your toaster in top condition doesn’t require special expertise or expensive products. According to cleaning professionals, a few simple steps and basic supplies are all you need to restore your toaster to like-new condition.
Neglecting toaster maintenance can have real consequences. When crumb buildup accumulates inside your appliance, it reduces efficiency, creates unpleasant burnt odors, and can even become a fire hazard over time. Additionally, fingerprints and grease on the exterior not only look unappealing but can also damage the finish if left unattended. Understanding how to properly clean both traditional toasters and toaster ovens ensures your investment stays protected and performs reliably for years to come.
Essential Safety Steps Before Cleaning
Before you begin any cleaning routine, safety must come first. Always unplug your toaster from the electrical outlet before doing anything else. Next, allow it to cool completely if you’ve recently used it. This waiting period is crucial because heating elements remain hot enough to cause burns, and water or cleaning solutions applied to warm surfaces can create steam or damage internal components.
Another key safety consideration involves avoiding water near sensitive internal parts. Never use sharp tools or abrasive materials that could pierce the heating elements or crack ceramic components inside the unit. These precautions protect both you and your appliance from potential damage.
How to Clean a Standard Toaster

Cleaning your toaster starts with the crumb tray, the easiest part to maintain. Simply unplug the unit, hold it over your trash can, and slide out the crumb tray. Dump the contents completely, then shake the toaster vigorously to dislodge any bits stuck inside. Turn it upside down and shake again to remove larger pieces. This step can get messy, so doing it over your trash can prevents your counter from becoming a crumb disaster zone.
Once you’ve removed loose debris, use a small pastry brush or spatula to gently knock away remaining crumbs from crevices and around the top slots. If your crumb tray is removable, wash it thoroughly in warm, soapy water, rinse it completely, dry it, and reinsert it.
For the exterior, spray a small amount of all-purpose cleaner onto a damp cloth or sponge and wipe down the entire surface. Pay special attention to knobs, levers, and crevices where grease and crumbs tend to accumulate. Wipe a second time with a clean, damp cloth to remove any cleaner residue, then buff the surface dry with a soft cloth. If your toaster has stainless steel accents, finish by applying a dedicated stainless steel cleaner to keep the metal looking polished and attractive.
Cleaning Toaster Ovens Requires Extra Attention
Toaster ovens demand more intensive maintenance than basic toasters because they handle more complex cooking tasks. Since many people use toaster ovens to reheat pizza and other oily foods, grease buildup becomes a significant concern. The additional internal parts and glass doors also require special care.
Start by unplugging the unit and shaking out loose crumbs into the trash. Remove any detachable parts such as racks, baking pans, and crumb trays. Wash these components in warm, soapy water using a soft, non-abrasive sponge to remove stuck-on food and grease. Rinse thoroughly and allow them to air dry completely.
To clean the interior, spray your all-purpose cleaner onto a non-abrasive sponge and wipe down the inside walls, being very careful to avoid direct contact with heating elements. For glass doors, use a dedicated glass cleaner to remove fingerprints and mineral deposits. Wipe the exterior with the same care you’d use for a standard toaster, applying stainless steel cleaner if needed. Let everything dry for at least five minutes before plugging the unit back in.
Choosing Quality Toasters for Long Term Value
Regular maintenance extends the lifespan of any toaster, but choosing a well-made appliance in the first place makes a real difference. If you’re shopping for a new unit, explore options across different budgets and kitchen styles to find one that fits your needs. Similarly, if you’re considering upgrading to a toaster oven, browse toaster ovens designed for various kitchen types and price points to compare features and durability ratings.
Understanding the controls on your toaster also helps you use it more effectively. If you’ve ever wondered about those numbered settings, learning what your toaster’s numbers actually mean helps you achieve perfect toast every time while preventing unnecessary burning and crumb accumulation.
Make Maintenance a Regular Habit
The easiest way to keep your toaster in excellent condition is to establish a regular cleaning schedule. Empty the crumb tray weekly, wipe down the exterior monthly, and perform a deep clean every few months. This consistent approach prevents heavy buildup and keeps your appliance looking and functioning like new. With just a few minutes and basic supplies, you can protect your toaster investment and ensure reliable performance for years to come.





Write Your Review
No reviews yet. Be the first to share your experience!