
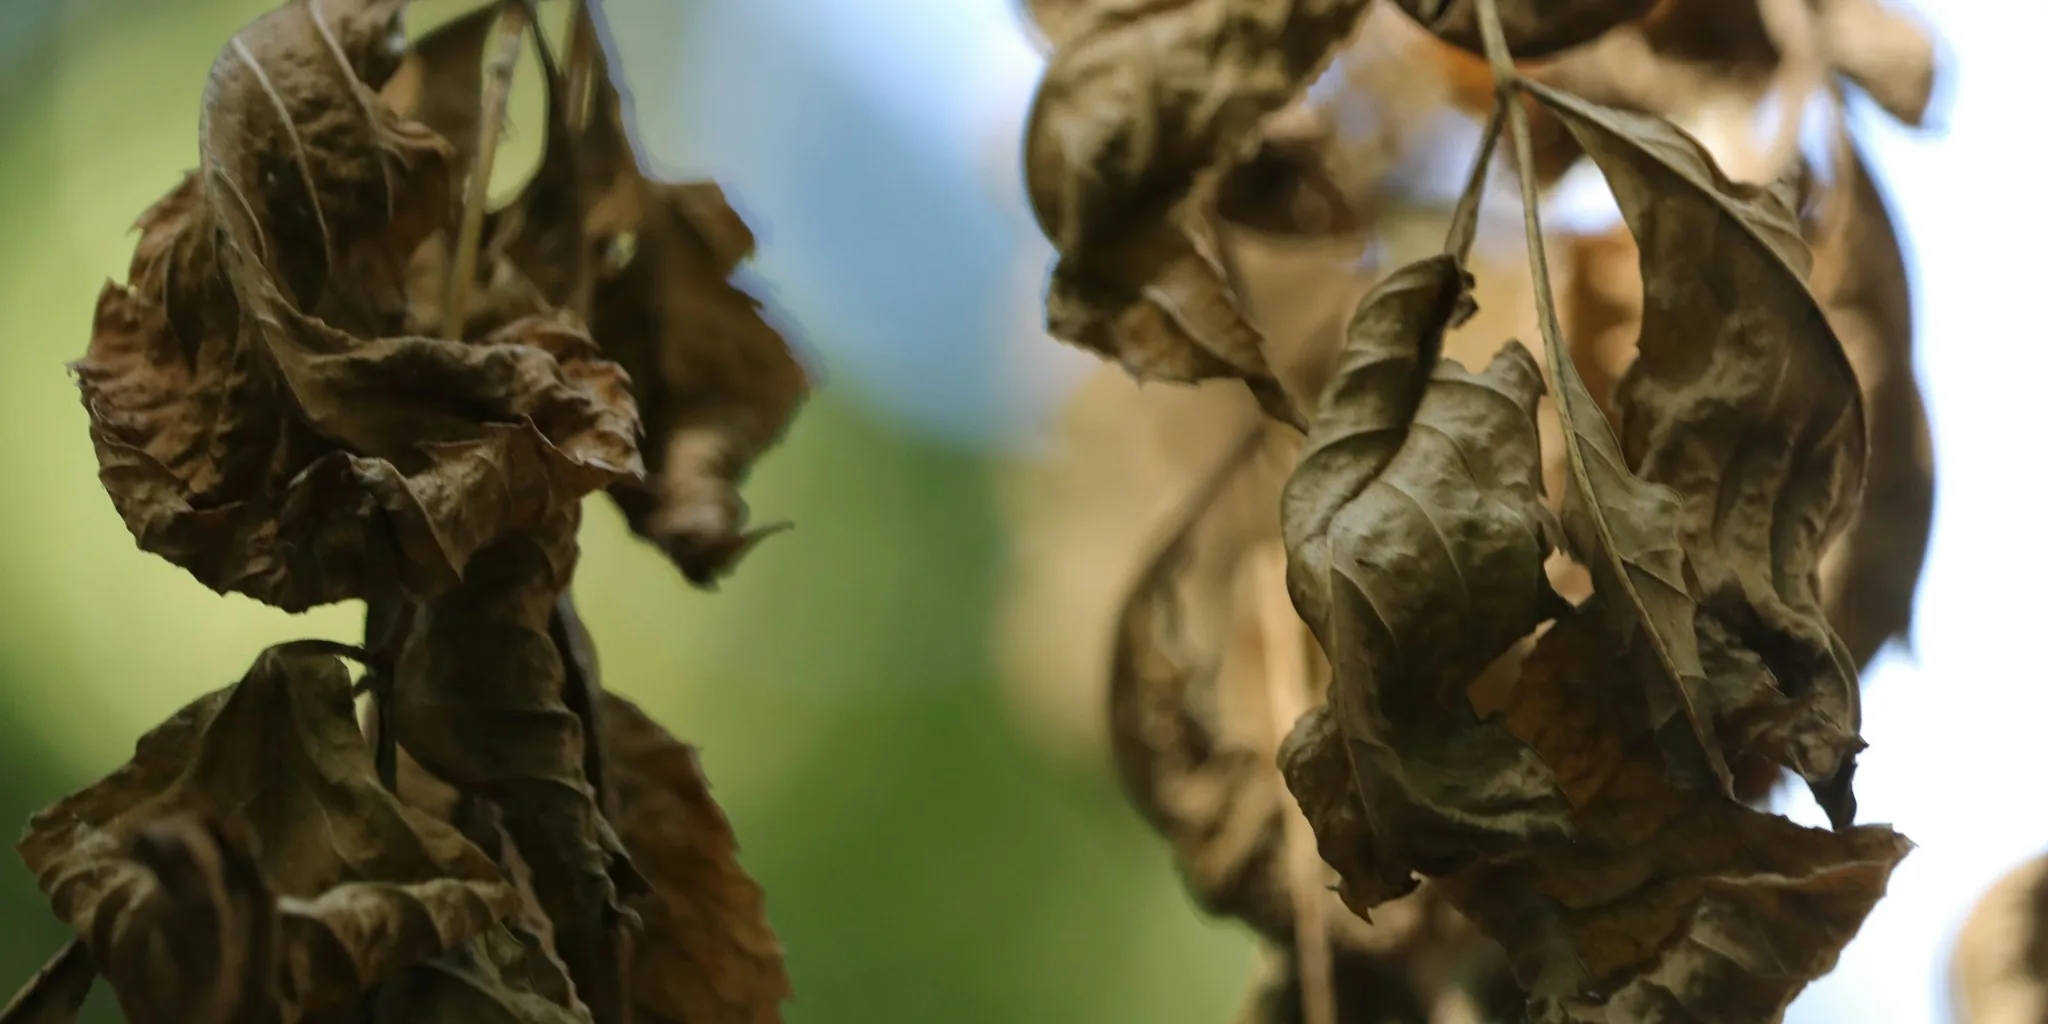

Make the Most of End-of-Season Tomato Growth
When fall arrives and your tomato plants stop producing, resist the urge to toss everything into the yard waste bin. Those spent vines represent months of nutrient absorption and structural material that can serve multiple purposes in your garden. The key to repurposing them successfully lies in understanding which methods work best and how to handle disease concerns before you get started.
Before choosing a reuse method, sort your vines carefully. Some diseases like late blight and powdery mildew die with the plant, but early blight and Septoria leaf spot can survive on dead stems through winter. Use only clean, disease-free material for any of these projects. If your plants showed signs of disease during the season, bag them separately and discard them with household trash instead.
Burn Dry Vines to Create Garden Ash
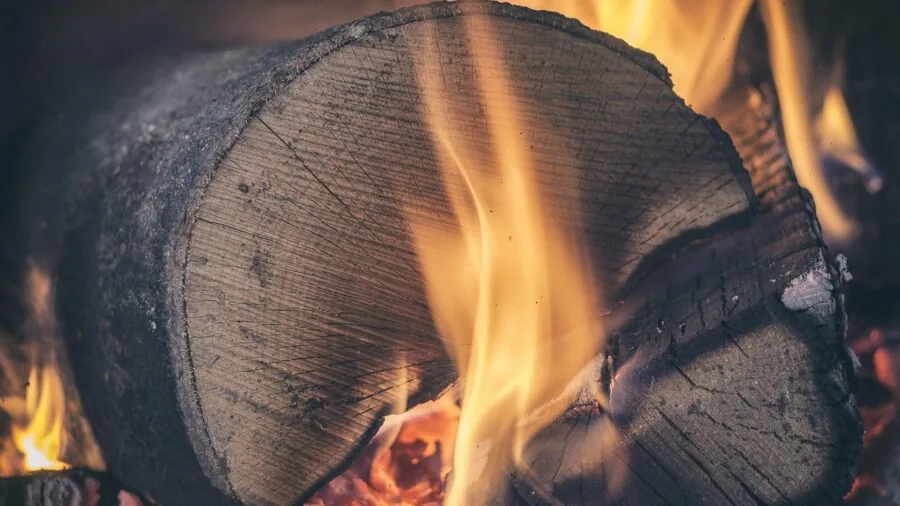
Stack your vines in a sheltered location and let them dry completely for several weeks. Once bone dry, you can burn them in a contained space. Always check local regulations first, as many areas restrict open burning or limit it to specific times of year. A contained burn can from a hardware retailer keeps embers safely contained.
The ash remaining after burning contains potassium, calcium, and other minerals your plants pulled from the soil all season. Spread this ash thinly across your garden beds, using no more than a five-gallon bucket per 1,000 square feet. This works best on soil close to neutral pH. Avoid applying ash near acid-loving plants like blueberries, and skip areas where you plan to grow potatoes, since ash raises pH and potatoes prefer slightly acidic conditions that resist scab disease.
Create Biochar for Long-Term Soil Health
Charring differs from complete burning. While burning leaves only mineral ash, charring preserves the carbon structure through partial combustion. The resulting biochar holds pore structures that benefit soil. Tomato vines produce modest amounts of biochar compared to woodier materials, so this works best when you’re charring prunings and stakes alongside your vines.
Crush the cooled char and let it sit in compost or a bucket of diluted fish emulsion for two weeks before adding to beds. Raw biochar pulls nutrients from soil initially, so this soaking step prepares it for garden use and prevents temporary nutrient deficiencies.
Bury Vines Deep in Non-Solanaceae Beds
Burial outdoes cold composting because soil biology breaks down material faster and more completely. Chop vines into manageable pieces using a bypass lopper from a garden supplier, then dig a trench 12 inches deep. Lay the chopped vines inside and cover with soil. Chopping matters because it speeds decomposition and creates an even breakdown.
Location is critical here. Never bury tomato debris where tomatoes, peppers, eggplant, or potatoes will grow for the next two to three seasons. Early blight and Septoria persist in soil and old plant material. Instead, use these burial sites for beds dedicated to brassicas, alliums, beans, and other crop families. Beans particularly benefit because their nitrogen-fixing ability offsets some nitrogen temporarily tied up during decomposition.
Weave Strong Stems into Garden Structures
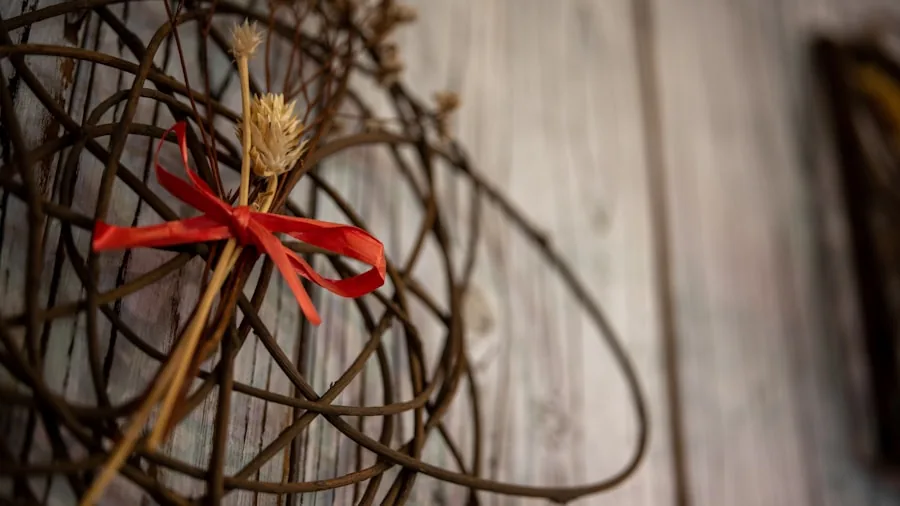
The sturdiest main stems from indeterminate varieties develop woody structure by September and remain supple when harvested fresh. Let them sit in the sun for an hour to lose surface moisture, then coil the longest stems into rings and tuck loose ends through themselves. Bind the coils at three or four points with jute twine, pulling tighter than seems necessary since stems shrink as they cure.
Expect one season of use from woven structures left outdoors. The pithy stems become brittle with time, making them more suitable as temporary trellises or seasonal decorations. Wreaths last longer indoors where they stay dry. This is a great project to combine with creating a harvest basket display for fall decoration.
Line Pathways with Vine Material
Garden pathways absorb substantial bulk without affecting growing beds. Lay dried vines flat down the center of your paths, overlapping them generously, then cover with wood chips or straw. This blocks sunlight and suppresses weeds through fall and winter. By spring, most material underneath has flattened into a natural mat.
One trade-off exists: damp vine-and-chip combinations provide ideal shelter for gray field slugs overwinter. Keep this lining on the path itself and away from bed edges. Also skip pathways bordering nightshade beds, since rain splash from the chips onto lower leaves can introduce early blight spores.
Brew Foliage into Homemade Pest Spray
Tomato leaves contain alkaloid compounds historically used as a natural pest deterrent. The traditional method involves steeping two cups of chopped clean leaves in a quart of water overnight, straining, then diluting before spraying on aphids and small caterpillars. Hard scientific evidence remains limited, making this an anecdotal technique passed down through generations of gardeners.
Two rules are non-negotiable. Only use foliage from completely healthy plants, since tomato mosaic virus survives dried plant material for two years and spreads through direct contact. A sprayer full of infected leaf water is the most efficient disease vector possible. Never spray this solution on peppers, eggplants, potatoes, or other nightshades. Always keep finished spray away from pets and children, and use a dedicated sprayer rather than one that handles herbicides.
Smart garden management starts with using every resource available. As you clean up end-of-season growth, consider which repurposing method fits your garden layout and plans. For tools and infrastructure to support year-round gardening, explore options like quality garden hoses and raised beds for future seasons.




Write Your Review
No reviews yet. Be the first to share your experience!