
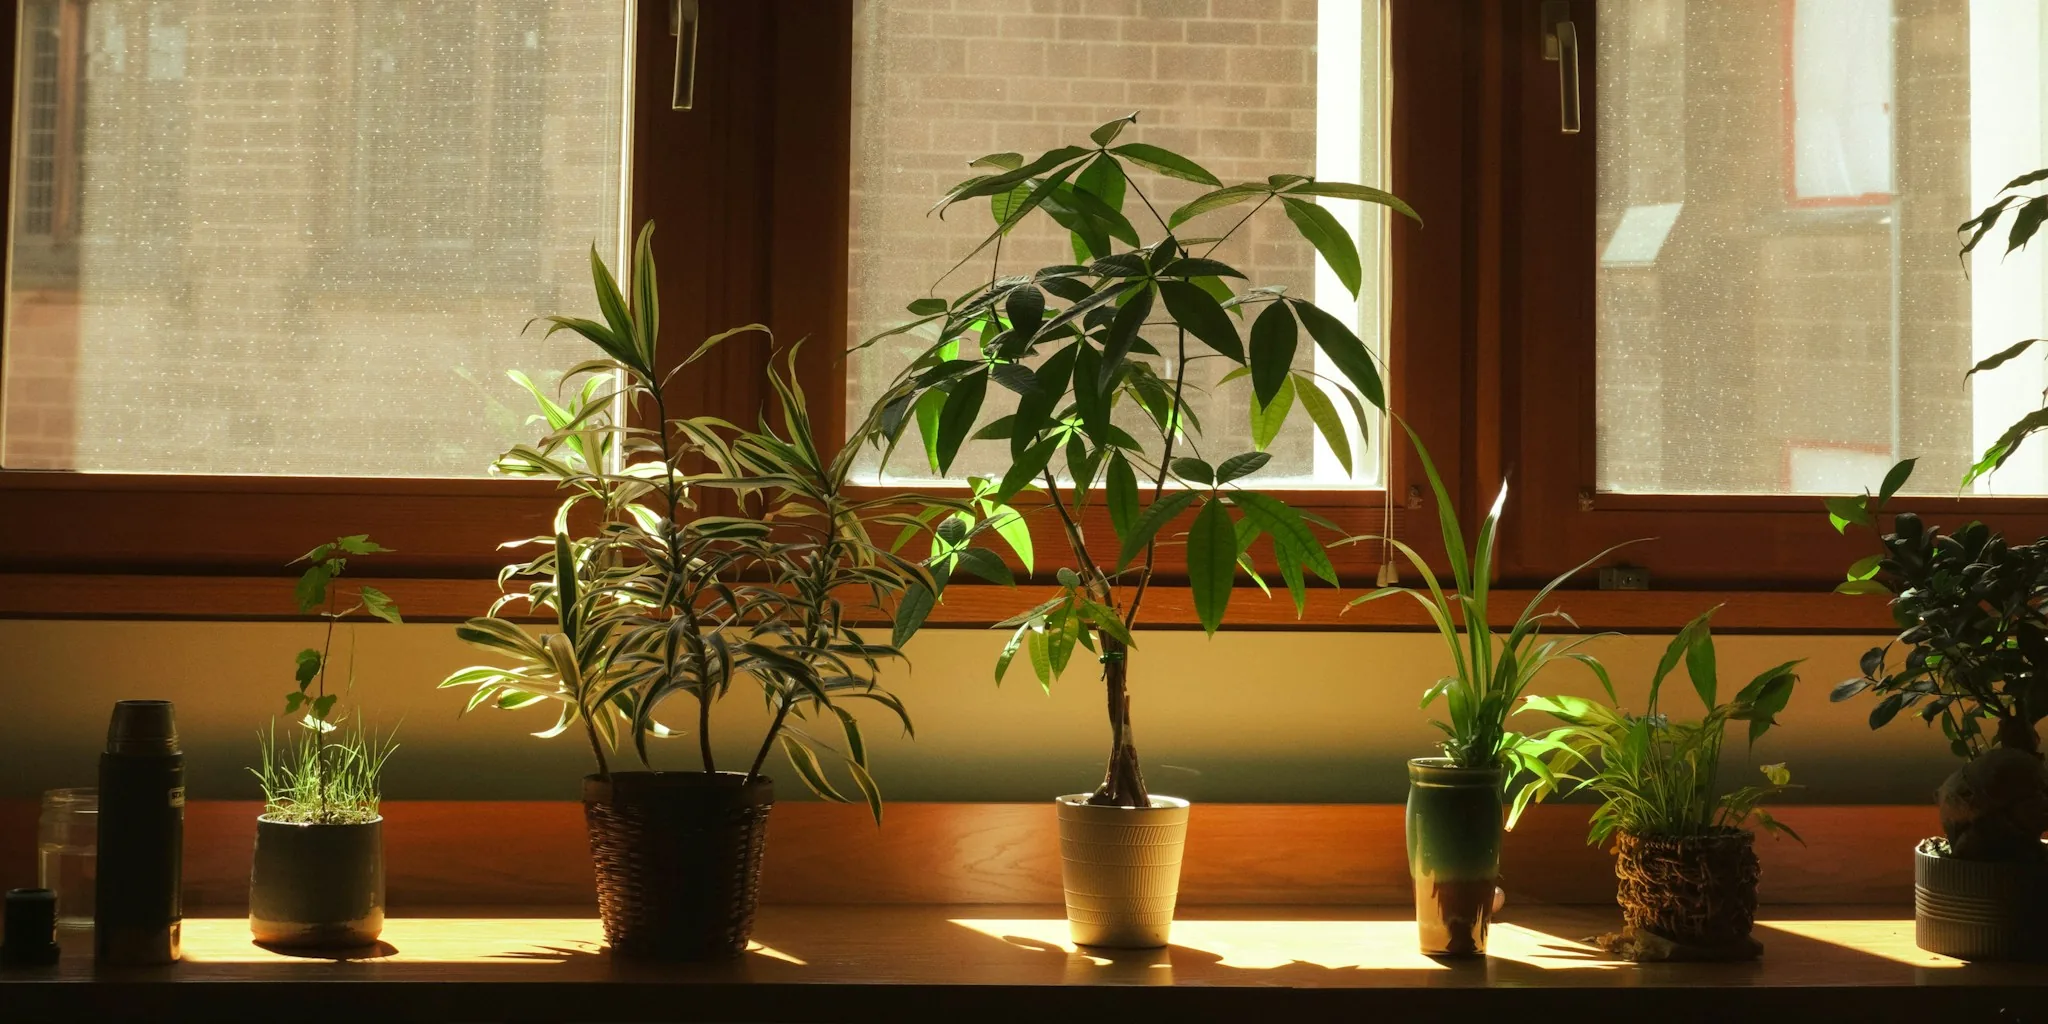

As temperatures drop and heating systems kick in, spider plants often develop brown leaf tips that signal underlying care issues. This fall problem is more common than you might think, and the good news is that it’s entirely fixable once you understand what’s causing it. Brown leaf tips act as a warning sign from your houseplant, much like dashboard alerts in a car. Ignoring them could allow a minor issue to develop into something more serious. The key is identifying the root cause and taking swift action to restore your spider plant to health.
1. Diagnose the Cause by Examining Your Leaves
Before you can treat brown leaf tips, you need to understand what’s causing them. Start by looking closely at the damaged foliage on your plant. Pay attention to whether there’s a clean, sharp line between the brown and green sections, or if you see a thin yellow zone between them. Check if the browning appears only at the leaf tips or spreads to patches near the center or base. Feel the affected areas: do they feel dry and crispy, or soft and mushy? The color also matters. Is the discoloration a dull grayish-black or more of a reddish-brown shade? These details will guide your diagnosis and help you choose the right fix.
2. Address Dry, Heated Indoor Air
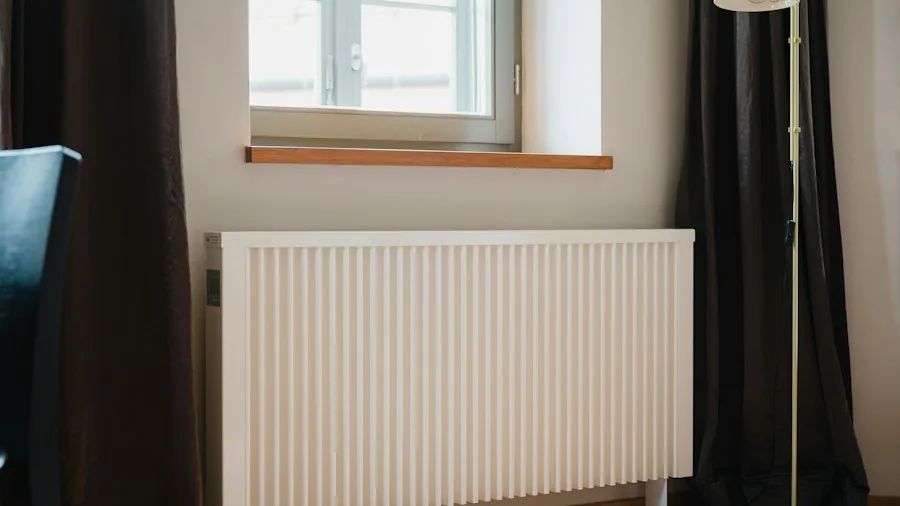
When your home’s heating system activates in fall, the indoor air loses humidity rapidly, and spider plants suffer. If your plant’s leaf tips feel dry and crispy with a sharp line separating the healthy green from the brown damage, dry air is likely the culprit. Spider plants lose most of their moisture through their leaf tips, so that’s where problems show first when conditions are arid. Move your plant away from radiators, heat vents, and warm air currents. Consider relocating it to a naturally humid room like a bathroom. You can also increase moisture around your plant by placing the pot on a shallow tray filled with pebbles and water. The pot base should sit on the pebbles, not in the water itself, allowing water evaporation to humidify the surrounding air.
3. Adjust Your Watering Schedule for Fall Dormancy
Spider plants dramatically reduce their growth rate as days shorten in fall, which means they need significantly less water than during the growing season. If you haven’t adjusted your watering routine, you’re likely giving your plant more water than it can use. Overwatered spider plants develop yellowing leaves with a blurry-edged yellow halo between the green and brown sections. If you suspect root rot, remove the pot and check for a foul, stagnant smell. If rotting is present, remove the plant from the soil, trim away any dark, mushy, or slimy roots with sharp scissors, rinse the roots thoroughly, and repot with fast-draining soil. Going forward, water only when the top inch of potting mix feels dry to the touch.
4. Protect Your Plant from Cold Air Exposure
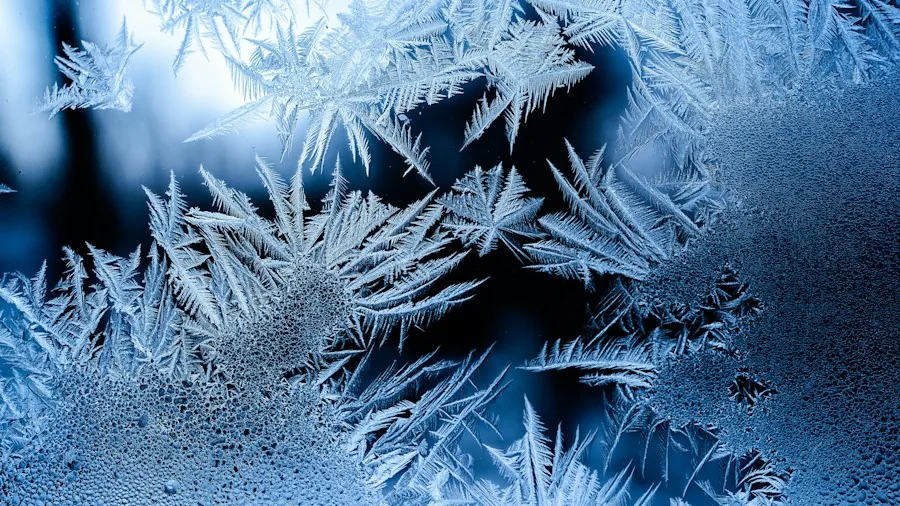
Spider plants originated in tropical climates, so they struggle with cold temperatures. If your plant sits on a chilly windowsill or near an external door where it encounters cold air drafts as outdoor temperatures drop, the leaves will respond by becoming floppy, dull, and pale. Foliage touching cold glass can turn brown or black almost overnight and feel soft and limp. Relocate your spider plant to a spot with bright, indirect sunlight, ideally near an east or west-facing window where it won’t experience temperature shocks. This simple adjustment often reverses cold damage within days. Similar strategies work well for keeping other plants thriving through fall and winter.
5. Switch to Distilled or Rainwater to Remove Chemical Stress
Tap water containing high levels of fluoride and chlorine can cause spider plant leaf tips to brown, especially when combined with seasonal stress. Spider plants pull water to their leaf tips where evaporation occurs, concentrating any chemicals and leaving them behind. This damage typically starts at the very tip and creeps down the outer edges, often with a distinctive reddish-brown tint. Outer, older leaves show worse damage than inner, younger leaves. You might also notice a crusty white residue on the soil or pot rim. Switch to distilled water from the store or collected rainwater, since regular filtered water removes chlorine but allows fluoride to pass through. You can also explore growing plants from kitchen scraps alongside your main houseplants to expand your collection sustainably. Repot your spider plant into fresh potting soil to eliminate any chemical buildup around the roots, or flush the existing soil by pouring distilled or rainwater through it several times.
Complete Your Recovery Plan
Once you’ve identified and addressed the cause, trim the damaged leaf tips with sharp scissors, cutting at a slight angle to mimic the plant’s natural pointed leaf shape. This improves the plant’s appearance while you wait for new, healthy growth. Your spider plant will bounce back quickly once conditions improve and the underlying cause is resolved. By acting fast and following these targeted solutions, you’ll restore your houseplant to full health and enjoy lush green foliage throughout the season.



Write Your Review
No reviews yet. Be the first to share your experience!