
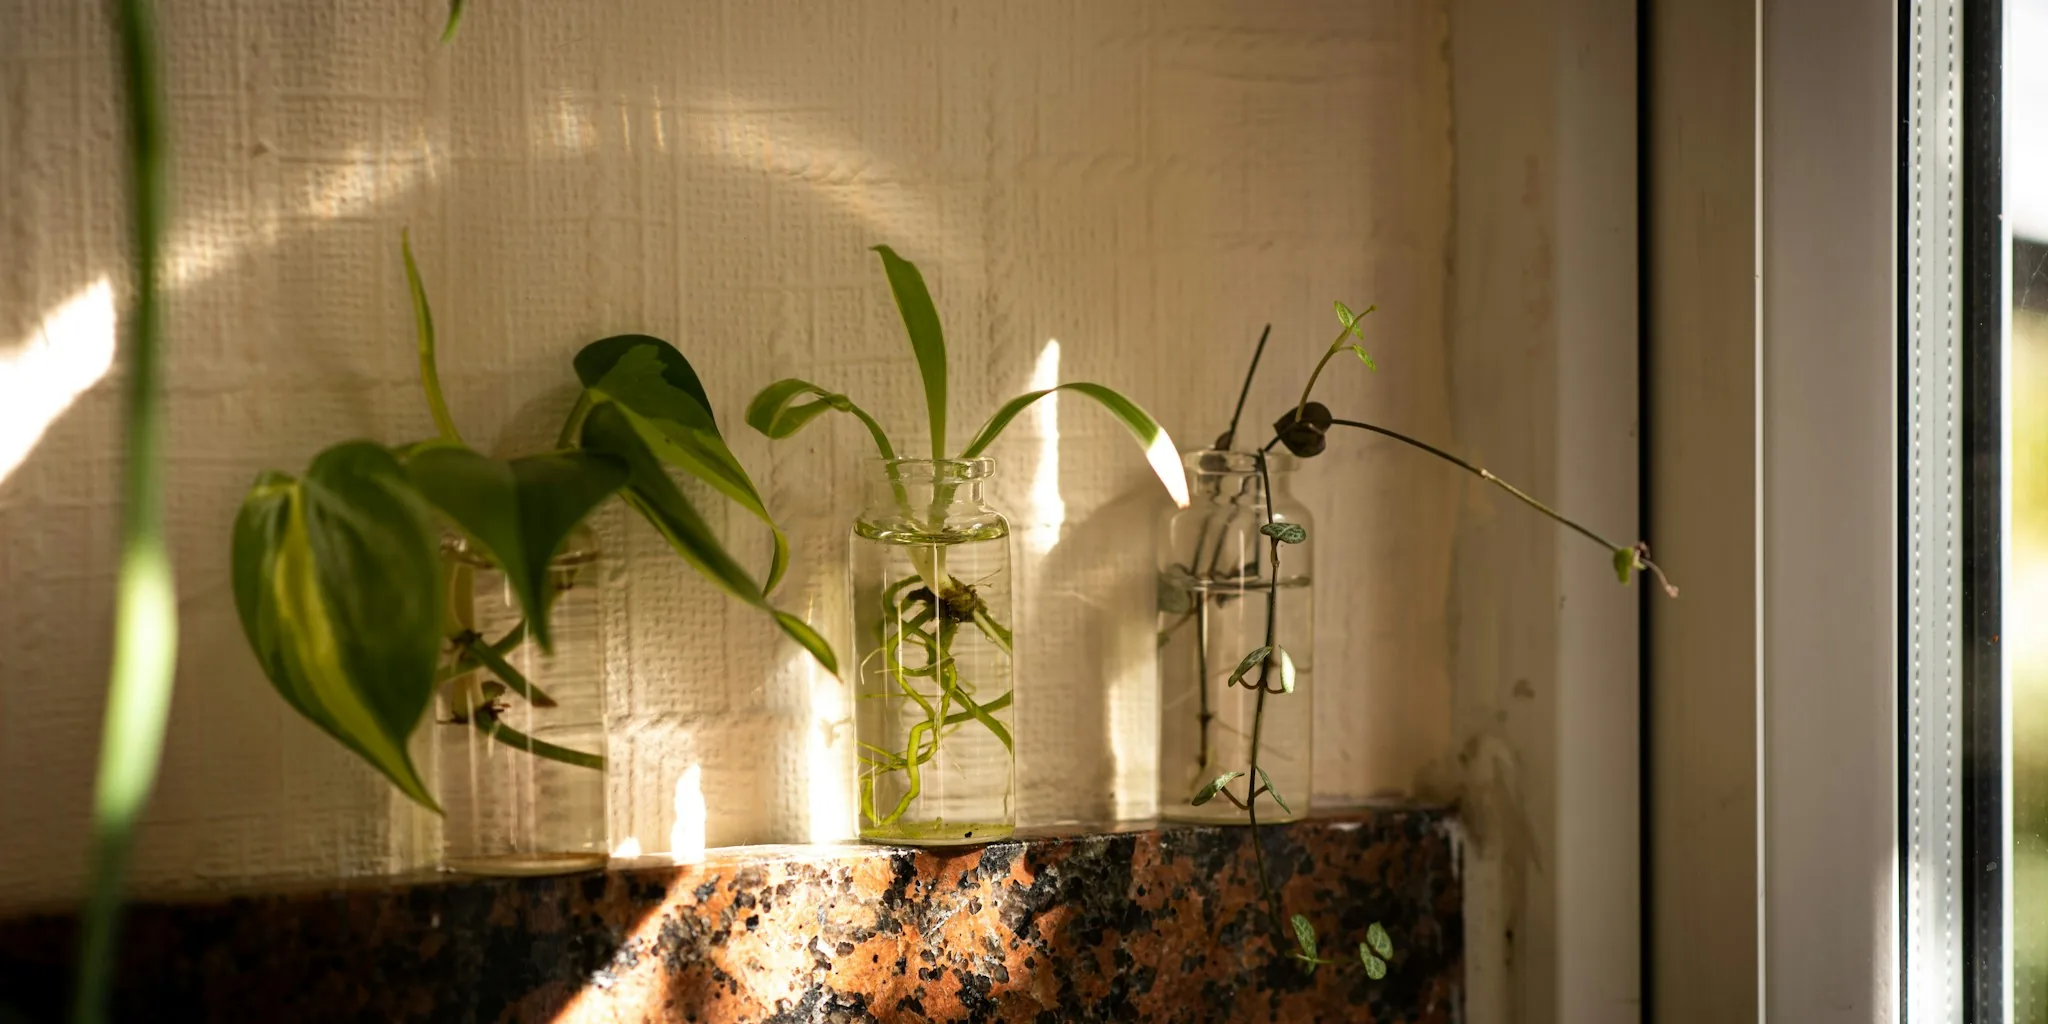

Growing new plants from fruit peels, vegetable scraps, and seeds is one of the most satisfying gardening projects you can tackle indoors. Not only does it cost nothing, but it also teaches you how plants develop from dormant material into thriving greenery. If you have a sunny kitchen windowsill and some patience, you can transform everyday kitchen waste into beautiful houseplants or fresh greens for your meals. Here are seven practical tips to get you started on this rewarding growing journey.
1. Start With Citrus Seeds for Fragrant Houseplants
Citrus seeds germinate quickly and develop into attractive foliage plants within months. Lemon, lime, orange, and grapefruit seeds all follow the same growing process. After cleaning away any pulp, gently scratch the seed coat with your fingernail to speed up germination, though this step is optional. Plant each seed about one-third inch deep in moist potting soil, then cover the container with clear plastic to trap heat and moisture. A simple yogurt cup with drainage holes and a plastic bag secured with a rubber band works perfectly. Place your setup on the sunniest south-facing windowsill available. Within a year, you should have a foot-tall plant with glossy, aromatic leaves that release a fresh scent when touched.
2. Grow Avocado Stones Into Tropical Houseplants
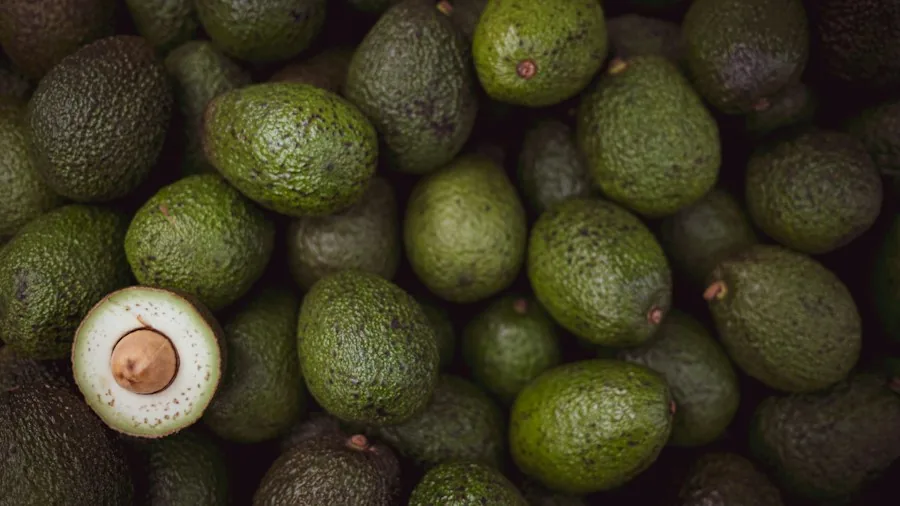
Sprouting avocado seeds in water rather than soil gives you a faster, more visible transformation that’s especially fun if you’re gardening with children. Clean the stone thoroughly, then suspend it over a jar using three or four toothpicks wedged into the sides so that only the bottom third sits in water. Position the jar in a warm spot with bright, indirect light, as avocados are tropical plants that prefer east or west-facing windowsills. Change the water every two to five days and keep the base consistently moist while the top stays dry. After two months or sometimes much sooner, the stone will crack open and roots will emerge. Once you see a couple of inches of roots and leaf growth on top, transfer your avocado into potting soil. For a bushier plant, pinch off the top set of leaves once the stem reaches six inches high.
3. Turn Apple and Pear Seeds Into Bonsai Projects
Apple and pear seeds make excellent long-term bonsai candidates because they develop flexible branches and fibrous roots that respond well to shaping. Rinse seeds in water and discard any that float, keeping only the plump ones that sink. Wrap the viable seeds in damp paper towels inside a sealed plastic bag and refrigerate them for six weeks to simulate winter dormancy, which triggers germination. Check weekly to ensure the paper stays just-damp. Once you see a white root poking through, plant each sprouted seed in a small pot with seed-starting mix, root-side down. Place on a warm, sunny windowsill and keep soil slightly moist. Within weeks, green shoots will appear. After a few months, snip off the taproot and move your seedling to a bonsai starter pot where you can begin pruning and training branches into shape.
4. Root Pineapple Tops for Striking Houseplants
Pineapple tops develop into eye-catching houseplants with spiky, architecturally interesting foliage. Rather than cutting, hold the fruit in one hand and the leafy crown in the other, then twist firmly in opposite directions until the top pops free cleanly. Strip away the lower five to eight leaf layers until about an inch of bare stem remains. Let this stem air-dry on your kitchen counter for three to five days until a protective scab forms. Then use the same water-rooting method you would with avocado: suspend the stem over a jar using toothpicks, keeping only the base submerged while leaves stay completely dry. Maintain warm, sunny conditions and refresh the water every two to three days. Roots should appear within a month, at which point you can transition your pineapple plant into potting soil designed for succulents.
5. Regrow Cabbage Bases for Fresh Cut-and-Come-Again Leaves
If you want quick results with edible greens, save the bottom two to three inches of any fresh cabbage. Peel away the outer leaves to expose the pale inner stem, then stand the base upright in a shallow bowl of water, keeping the bottom edge submerged and the top rim dry. Change the water daily to prevent rot and bacterial growth. New shoots will push out from the core within days, giving you tender leaves perfect for salads and stir-fries. Harvest only the outer leaves to extend your harvest window. This method is so simple that it works beautifully as an educational project for family members new to gardening.
6. Grow Carrot-Top Greens With Herb Flavor
Carrot tops taste remarkably similar to parsley and make a delicious herby garnish or pesto ingredient. Cut about one inch from the top of any carrot and place it cut-side down in a shallow saucer of water. The critical detail is keeping water below the point where new leaves emerge, so refresh the water every single day. A well-placed plant on your sunny windowsill thrives with this minimal care approach.
7. Choose the Right Light and Maintenance Schedule
All of these projects need bright light and consistent care to succeed. South-facing windowsills provide the most reliable sunlight for faster growth, though east or west-facing options work well for tropical plants like avocados. Establish a daily watering or water-changing routine so you don’t forget, especially for water-rooted projects that demand fresh water every day or two. Consider keeping all your propagating projects together in one visible spot so you remember to check them regularly. Planning your plant arrangement thoughtfully makes maintenance easier and more enjoyable. With minimal investment beyond what you’d already discard, you’ll soon have a windowsill full of free plants and fresh edible greens that prove waste-free gardening truly works.





Write Your Review
No reviews yet. Be the first to share your experience!