
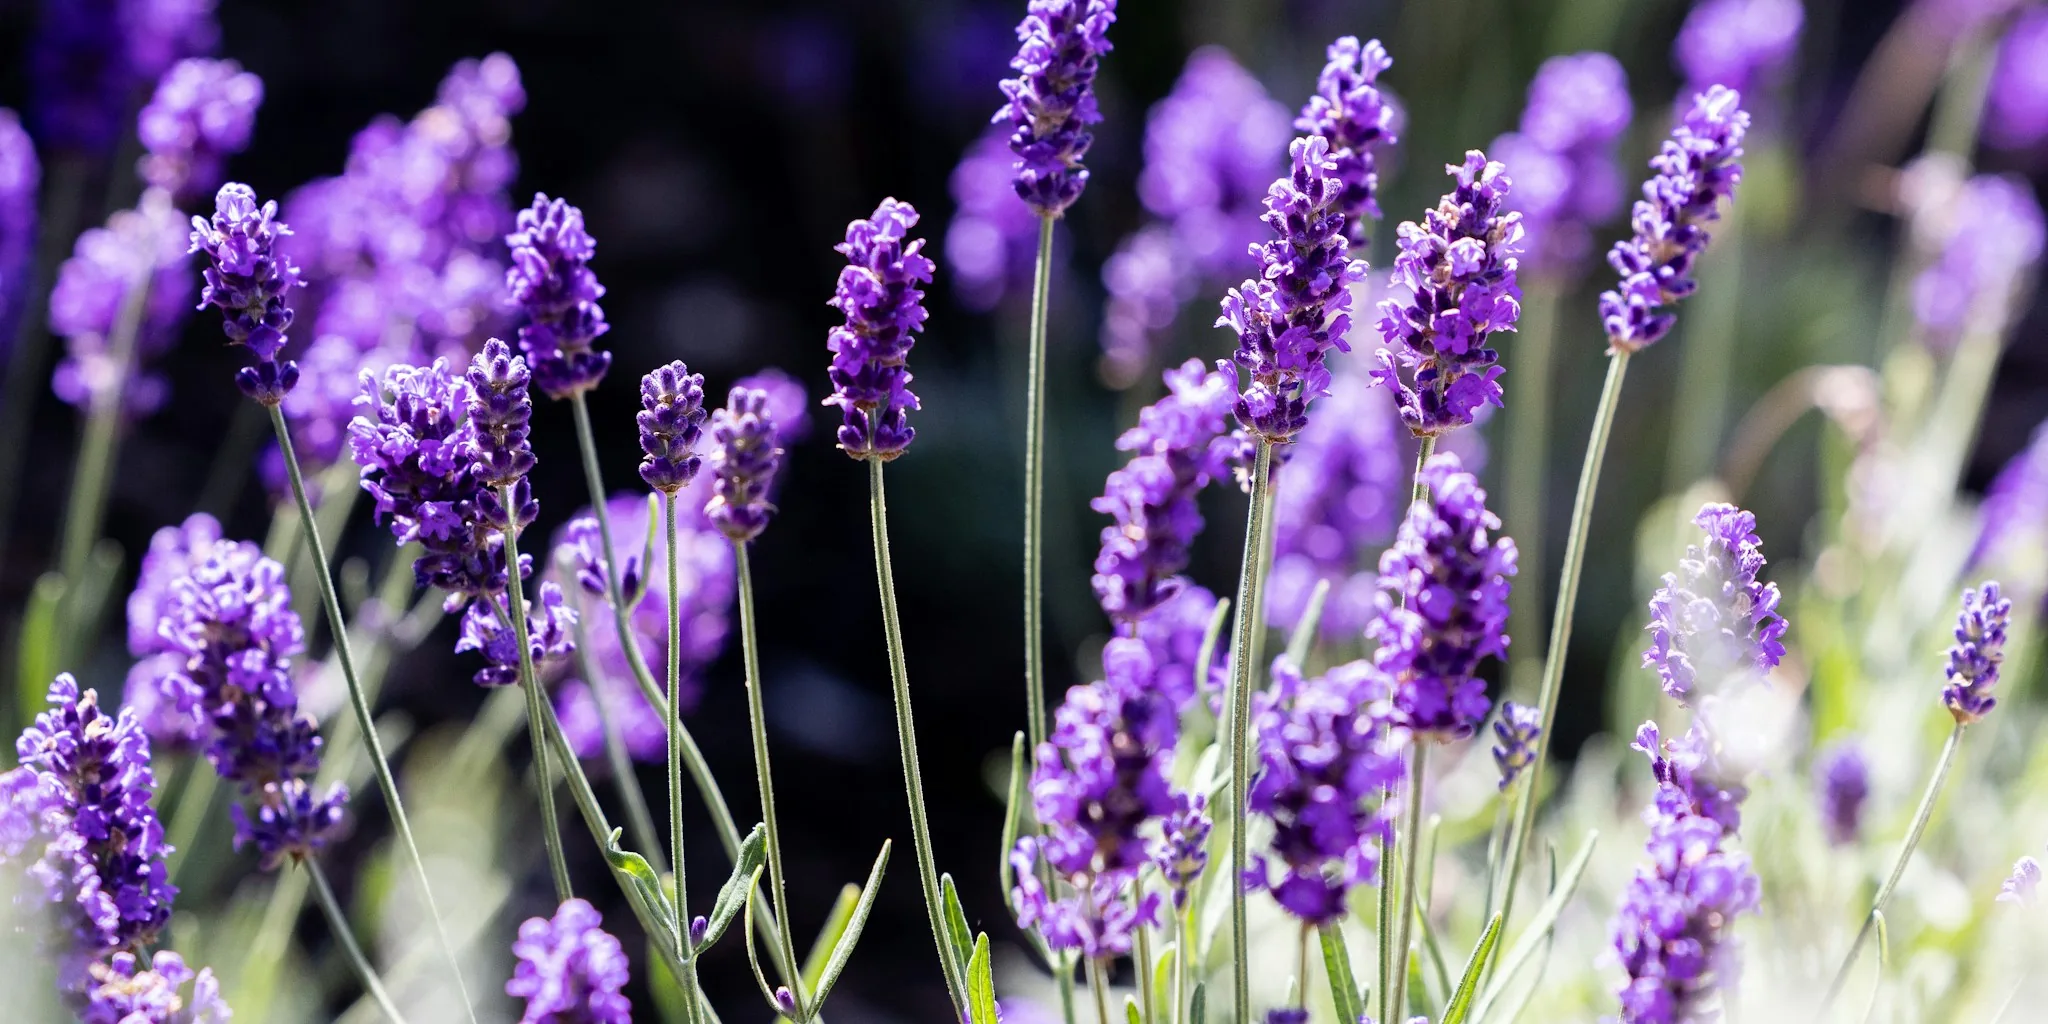

Lavender is a gorgeous addition to any garden, but cold winters can threaten its survival. Many gardeners assume freezing temperatures are the main culprit, but the real enemies are soggy soil, tender new growth, and harsh winter winds. Since lavender thrives in dry Mediterranean conditions, a long wet winter is far from ideal. The good news is that preparing your lavender plants for winter doesn’t require complicated steps. Most work happens in late summer and early fall, before the first hard freeze arrives.
1. Perform a Light Green Sweep Pruning
Start your winterization plan with a gentle pruning technique called a green sweep. This involves trimming away about one third of each stem’s length while staying within the leafy green parts of the plant. Leave one to two inches of this year’s new growth above where the woody base begins. This matters because lavender rarely regenerates from bare wood, so cutting into the woody portions may result in dead stems that don’t come back.
Use sharp, clean pruning blades to make smooth cuts and minimize damage. Hand pruners work fine for a few plants, but if you’re tending a larger row, hedge shears can save significant time. Aim for a rounded plant shape rather than a flat top, since rounded plants naturally shed snow more effectively. The best timing is four to six weeks before the first hard freeze in your area. In the coldest regions, some gardeners skip fall shaping altogether and wait until spring, limiting fall work to deadheading only.
2. Stop Fertilizing by Late Summer

One of the biggest mistakes gardeners make is feeding lavender in late summer or fall. Nitrogen applied in September encourages tender new growth at exactly the wrong time, when the plant should be slowing down and hardening off for winter. This soft growth is the first to suffer cold damage come spring. Lavender naturally thrives in low to moderate fertility soil, so it doesn’t need much feeding anyway.
Cut off all liquid fertilizers and slow release granules by early August in most regions. Don’t resume feeding until you see new green growth emerging at the plant’s base in spring. Even then, established plants in decent soil rarely need more than a light feeding. A thin layer of compost mulch in spring provides enough nutrition to carry most plants through the growing season.
3. Reduce Watering as Days Shorten
Wet soil is more dangerous to lavender in winter than cold temperatures, particularly in regions that experience rainy winters. As fall progresses and daylight decreases, water your lavender less frequently. Let the soil dry several inches down between waterings. In most cases, rainfall alone is sufficient for established plants growing directly in garden beds.
That said, don’t stop watering completely. Plants stressed by drought actually handle cold stress worse than properly hydrated ones. If you haven’t had rain for a while, give your lavender a deep soak before a cold snap arrives. Container plants need more attention since they dry out faster and can freeze solid. Push your finger an inch into the soil to check moisture, and water if the mix feels dry. Pots elevated on feet drain better than those sitting flat on hard surfaces, which helps prevent root rot.
4. Pull Back Mulch from the Crown
The base of your lavender plant, called the crown, is especially vulnerable to rot. If you’re using bark or wood chip mulch, pull it back a few inches from the crown as winter approaches. Better yet, switch to pea gravel around the base if extra coverage is needed. Gravel drains much faster than organic mulches and won’t trap moisture against the stem.
5. Create a Windbreak for Exposed Plants
Winter wind causes significant damage to lavender. The plant’s gray green foliage remains visible all season, and on cold, windy days those leaves lose moisture. Meanwhile, roots frozen in the ground can’t replace that lost water. You’ll often see plants browning first on the windward side. Position your lavender near a wall or fence if possible to reduce wind exposure.
For open yards, build a simple windbreak using natural jute burlap stretched across fir wood stakes positioned on the windward side. Keep the fabric several inches away from the foliage to allow air circulation. You don’t need to wrap the entire plant, just shield it from the strongest winds. In the coldest growing zones, consider a breathable frost cloth after the first hard freeze for added protection, though remove it once spring warmth arrives.
6. Site Plants in Well Draining Soil with Full Sun
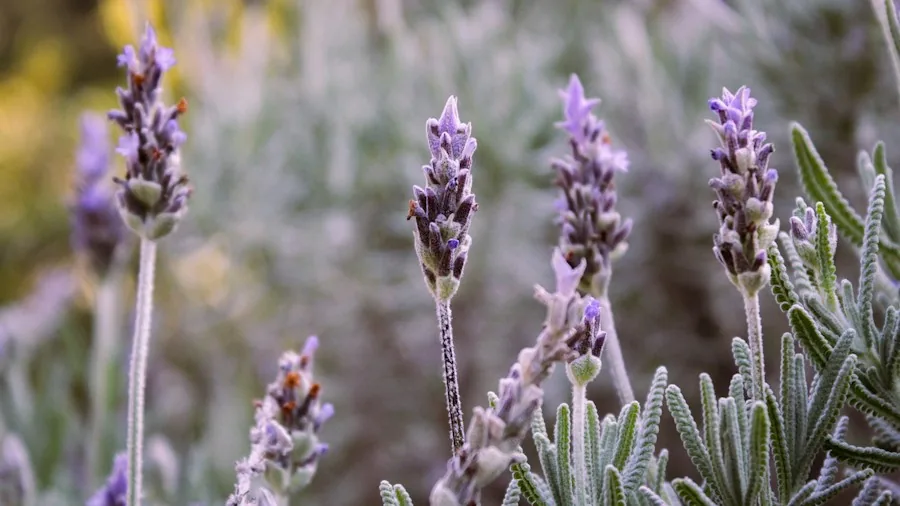
Prevention starts before winter even arrives. Lavender demands excellent drainage and full sun year round. Heavy clay soil or low lying areas that stay boggy put your plant at a disadvantage from the start. If your garden bed has drainage issues, amend it heavily with sand or create a raised bed specifically for lavender. This single factor is the most important element of year round lavender care and sets the foundation for successful winterization. Choose fall flowers that also prefer well drained conditions if you’re expanding your garden.
7. Monitor Spring Recovery Before Cutting Dead Wood
Even well cared for lavender can look gray and tired by early spring. Browning in March doesn’t always mean the plant is dead. Wait for visible signs of recovery before removing stems. Once new green growth appears near the base, you can safely remove any stems that snap rather than bend when you gently test them. Plants facing harsh winter conditions need this patient approach to recovery.
By following these winterization steps starting in late summer, your lavender will emerge from winter stronger and healthier. The key is preparing early, avoiding late feeding, managing moisture carefully, and providing wind protection when needed. With these practical measures in place, your lavender garden will thrive for years to come.




Write Your Review
No reviews yet. Be the first to share your experience!