
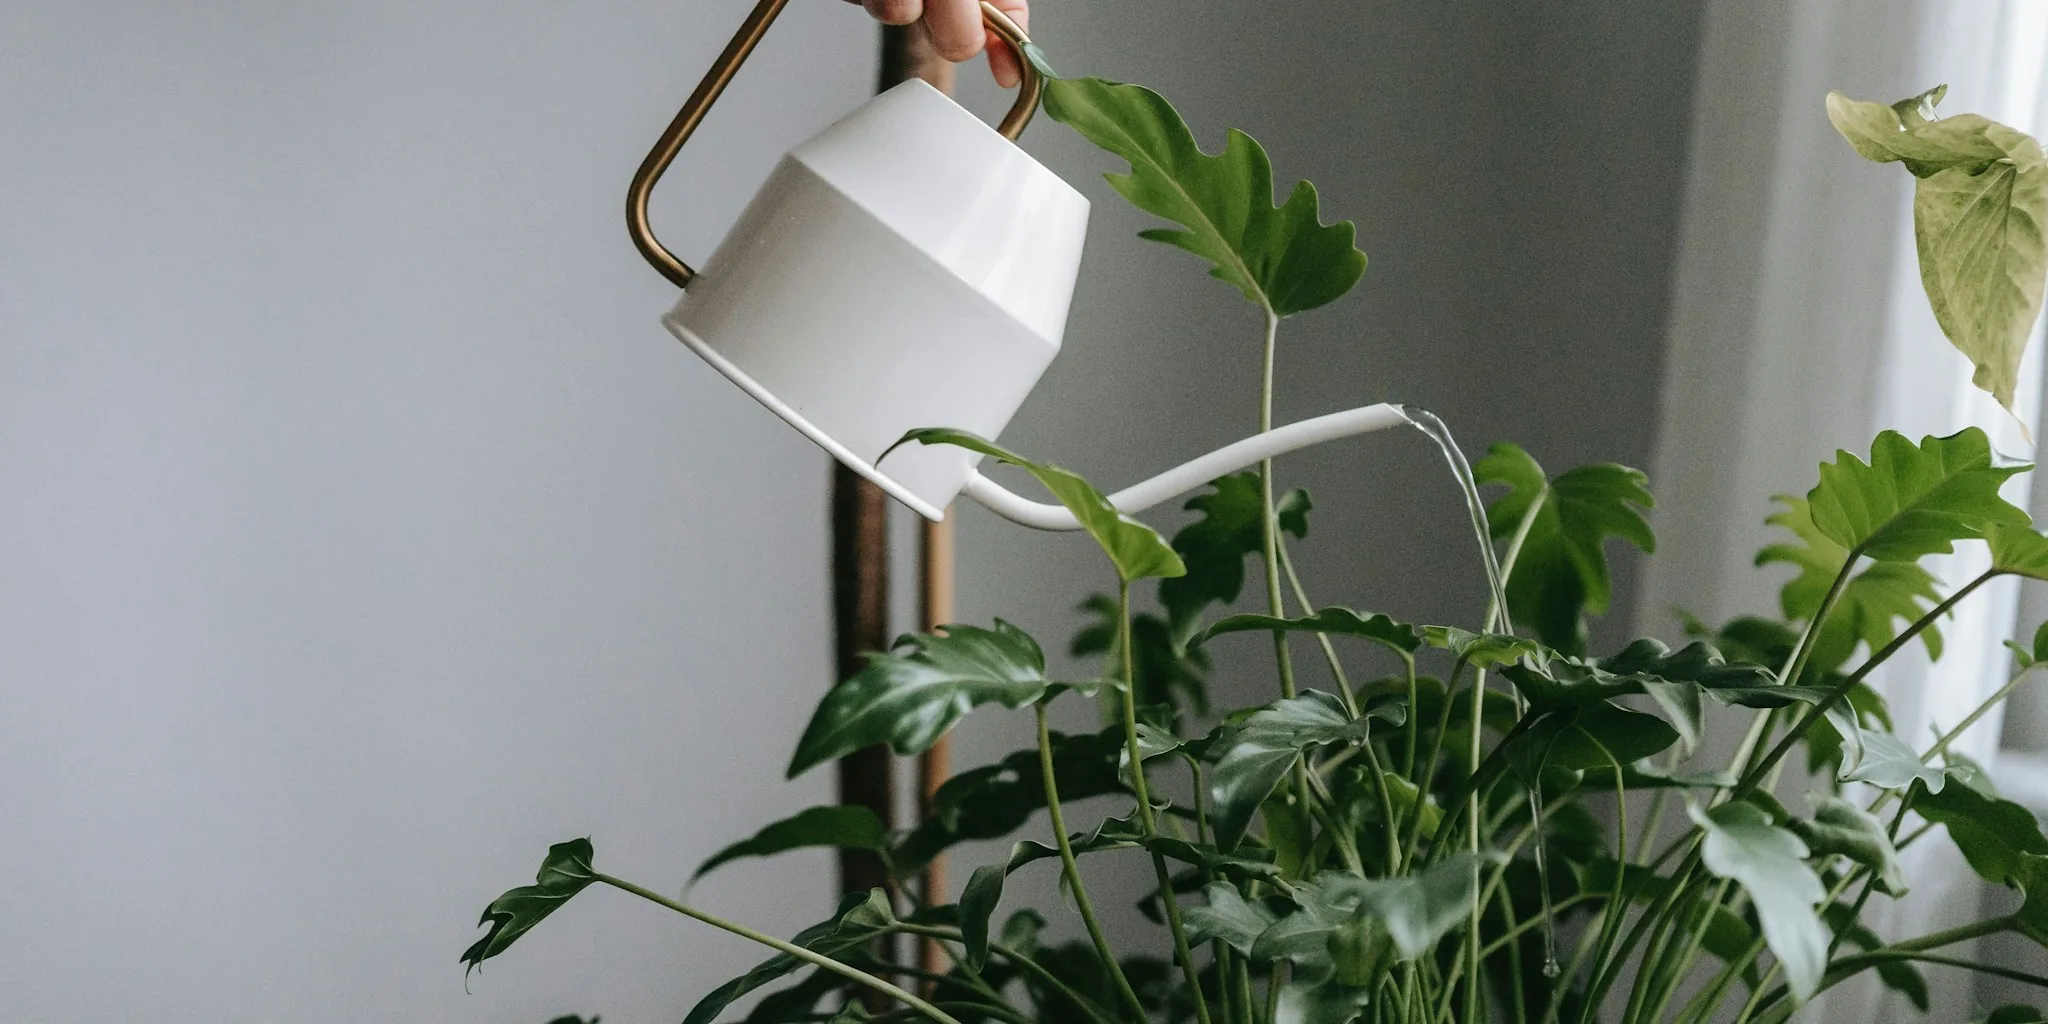

The Kitchen Secret That Saves Wilted Container Plants
When summer heat strikes and potted plants dry out completely, many gardeners assume the damage is permanent. However, a simple kitchen staple can bring even severely dehydrated plants back to life. Before you toss that crispy plant into the compost, consider trying a method that uses an ingredient already sitting under your sink: dish soap.
The challenge with severely dried out container soil is that it becomes water-repellent. Once potting soil loses all moisture, it develops a hydrophobic coating that causes water to run straight through without being absorbed by plant roots. Long periods of hot, dry weather kill beneficial bacteria and fungi in the soil, leaving behind oily residues that coat individual soil particles. This means watering alone cannot solve the problem, no matter how much you pour on.
Why Dish Soap Works on Dehydrated Plant Soil
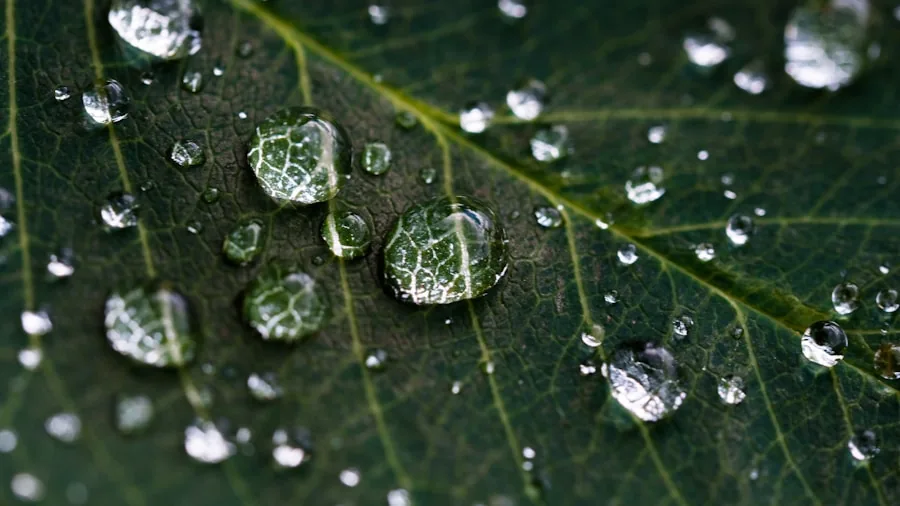
Dishwashing liquid contains surfactants, which are compounds with one end that attracts water and one end that attracts oil and grease. This is exactly why dish soap cleans your dishes: it grabs dirt and pulls it into water. You can use this same property to force water and hydrophobic soil to interact. When added in the correct amount, surfactants help water penetrate the compacted, dried soil so plant roots can finally absorb the moisture they desperately need.
How to Use Dish Soap to Rescue Your Plants
Step 1: Prepare a Watertight Container
Find a bucket or tub large enough to hold your dried-out pot. A large rubber bucket works well, though any waterproof container will do. If your planter is too large to fit in a bucket, you can still use this method with a watering can instead.
Step 2: Create a Very Mild Soap Solution
This step is critical: use only one or two drops of liquid dish soap in a standard 3-gallon bucket of water. A higher concentration can damage roots and leave harmful chemical residues in the soil. A basic, inexpensive dish soap is actually preferable to premium brands, as cheaper formulas contain fewer chemical additives. Use tepid water rather than cold water to help the soap disperse evenly.
Step 3: Soak the Pot in the Solution
If your pot fits in the bucket, submerge about two-thirds of it in the soap solution and let it sit for approximately 30 minutes or until the top soil layer feels damp. If the pot is too large, carefully poke several holes into the soil surface with a chopstick, avoiding the central root ball. Pour the dilute soap solution very slowly over these holes, and repeat after 15 to 30 minutes. Avoid letting any soap solution contact the plant stems or leaves, as it can strip away their protective coating and cause further damage.
Step 4: Rinse Thoroughly With Plain Water
Once soaking is complete, lift the pot out and allow it to drain fully. Fill a watering can with plain water and irrigate the soil as you normally would until water drains from the drainage holes. If you applied the solution from above, repeat the rinsing process several times, watering slowly at first. This final rinse removes any remaining soap residue while the treated soil rehydrates.
Supporting Your Plant’s Recovery
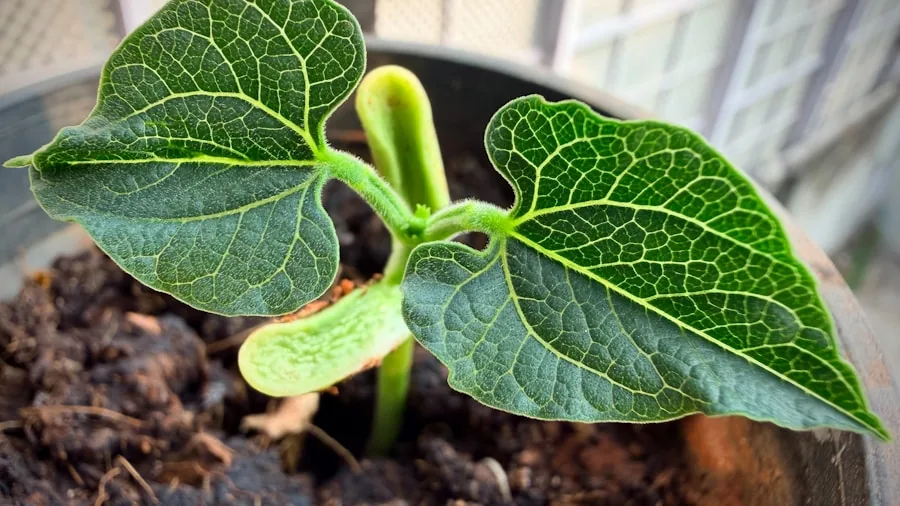
After treatment, move your plant to a shaded location away from intense midday sun for at least a few weeks, even if it normally prefers full sun. Grouping pots together also helps lower soil temperature during recovery. Consistent moisture is essential during this period; consider using a simple drip irrigation system or recycled bottle watering spikes to maintain even soil moisture going forward and prevent this crisis from happening again.
Do not fertilize your plant for at least one month, as it needs time to fully recover before you encourage new growth. Most plants show signs of improvement within 24 hours as their stems and leaves rehydrate. Wait a full week before pruning off any damaged foliage, as more will recover than you might expect. Any leaves that remain completely brown after a week will not recover and should be removed. Within 2 to 4 weeks, you should see fresh buds and new leaves emerging. If a plant does not recover despite your efforts, replace it with low-maintenance perennials that perform well in container gardens.
Works for Houseplants Too
This recovery technique works equally well for indoor houseplants as it does for outdoor container plants. However, ensure your pot has drainage holes so you can properly rinse away the soap residue. If your decorative planter lacks drainage, carefully remove the plant, repot it into a container with holes, or wrap the root ball in newspaper before soaking and rinsing. When dealing with ornamental plants during hot weather periods, this method prevents permanent wilting that often leads to plant loss during extended vacations or heat waves.
The dish soap method is a simple, inexpensive fix that every gardener should know, especially during summer months when heat and forgetfulness combine to threaten container plants. With just a few drops from your kitchen, you can save plants that appear beyond hope and avoid the expense of replacement.





Write Your Review
No reviews yet. Be the first to share your experience!